


Run a Custom Scan
- Click 'Tasks' > 'General Tasks' > 'Scan' > 'Custom Scan'
- A custom scan lets you check specific files, folders, drives and areas on your computer.
Run a custom scan
- Click the 'Scan' button on the CCS home screen
OR
- Click 'Tasks' > 'General Tasks' > 'Scan'
- Select 'Custom Scan':
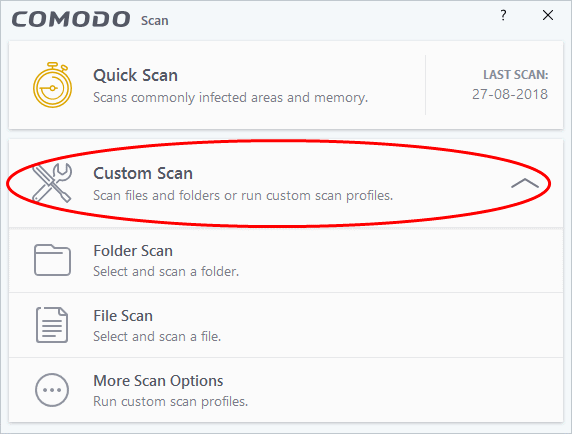
You have the following options:
- Scan
a folder – Scan the contents of folders and sub-folders.
- Scan
a file - Scan a specific file
stored on your hard drives or external devices.
- More Scan options - Create a custom profile to scan specific files and folders.
- Click 'Scan' on the CCS home screen
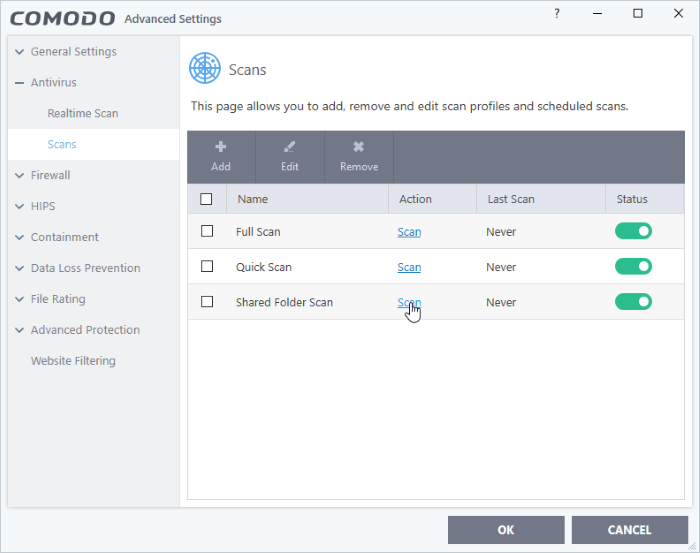
- Click 'Custom Scan' > 'More Scan Options'
- You will see a list of all existing scan profiles
- Click 'Add' to create a new profile
- Type a name for your profile
- Use the buttons at the top to add items to your profile:
- Add File - Pick individual files that you want to scan.
- Add Folder - Add entire folders to the profile. All files in the folder are covered by the scan.
- Add Area - Scan a computer region. The choices are 'Full Computer', 'Commonly Infected Areas' and 'System Memory'.
- Repeat the process to add more items to the profile.
- Click 'Options' to further customize the scan

- Click 'Schedule' if you want the scan to be run automatically at set intervals (Optional)
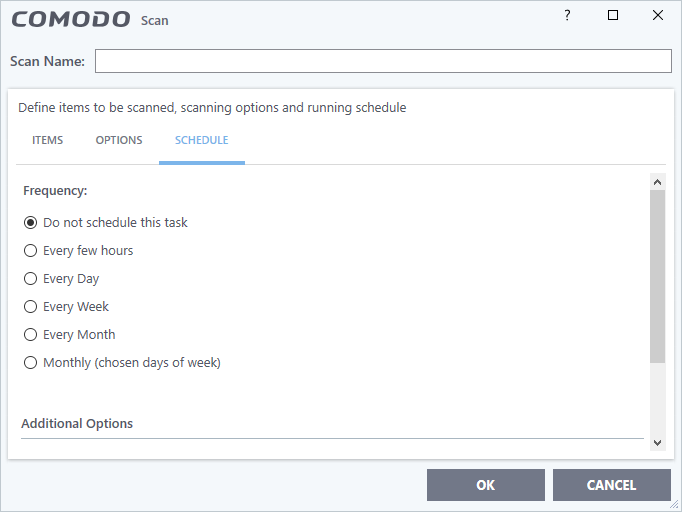
- Click 'OK' to save your custom profile
- Click 'Scan' beside the profile name to launch your scan
- Results are shown at the end of the scan. The results show the number of items scanned, a list of all discovered threats, and the files that were skipped.
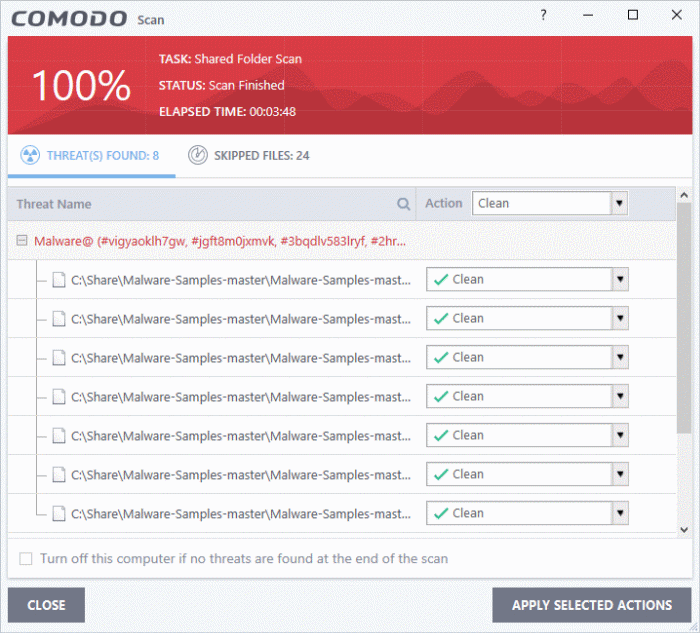
- You have the following options if threats are found:
- Clean - Will delete the file
- Quarantine - Moves the file into a secure, encrypted holding area. Quarantining a file renders it harmless
- Ignore - Allow the file. You can choose to ignore one-time-only, or ignore and create an exclusion (permanently ignore).