


Enroll Android Devices
- There are two steps to enroll Android devices:
Step 1 - Download and Install the communication client
- Open the mail on the device you want to enroll
- Tap the 'Get it on Google Play' button:
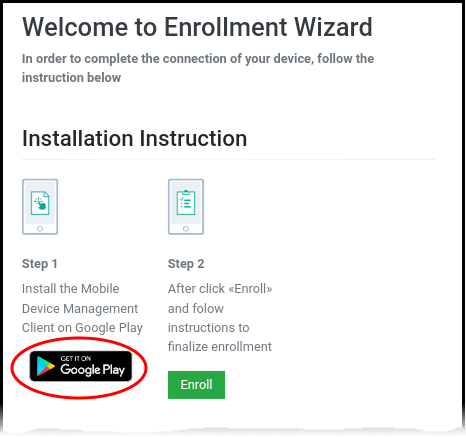
- Download and install the client software from Google Play
Step 2
- Configure the communication client
The next step is to configure the client to connect to Endpoint Manager. There are two ways to do this:
- After installation in step 1, go back to the device enrollment page and tap the 'Enroll' button under 'Step 2':
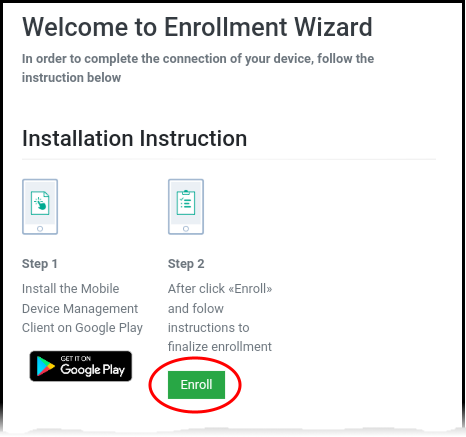
The client is
automatically configured and the End
User License Agreement screen appears.
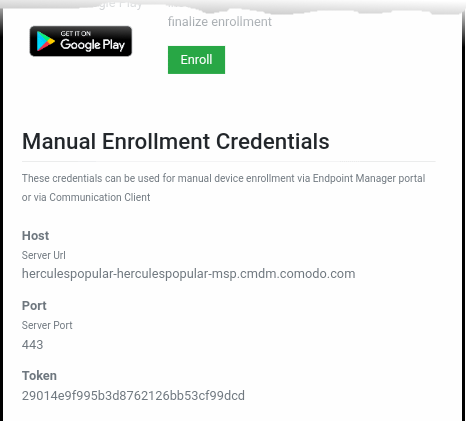
- You can manually configure the communication client to connect to Endpoint Manager by entering the server settings and token string (aka PIN). You can find these items on the enrollment page:
Manually configure the client
- Open the client by tapping the client icon on your device.
- This starts the client configuration wizard. Enroll the device by entering the server settings and unique token.
Server Settings
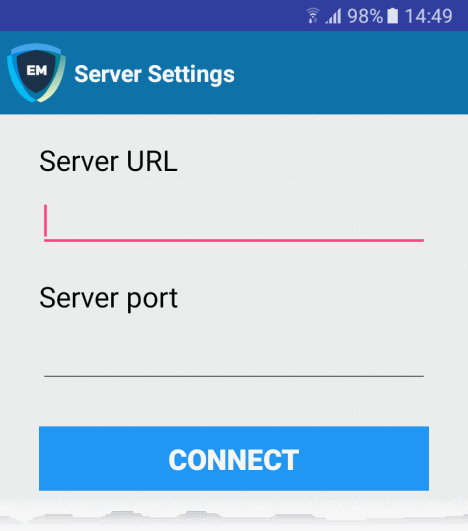
- Server URL – The server URL is listed on the enrollment page as described above.
- Server port - The server port is also listed on the enrollment page. Default = 443.
- Tap the 'Connect' button. The 'Login' screen will open
Login to the Console
There are two ways to login to the console:
OR
Enter the token from the enrollment page in the 'PIN Code' tab
- Open the communication client
- Open the 'Pin Code' tab:
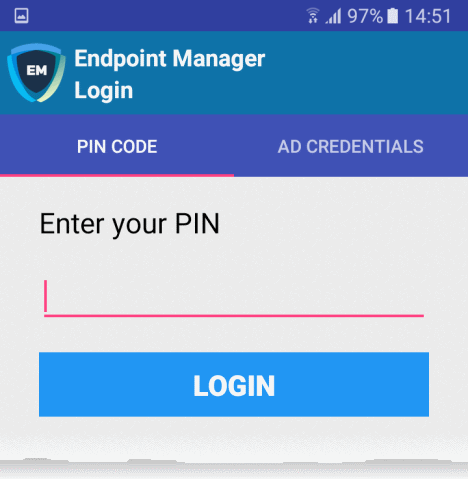
- Enter the token from the enrollment page as the PIN
- Tap 'Login' then agree to the EULA
Enter your username and password
- Open the communication client
- Open the 'AD Credentials' tab
|
Prerequisite: Please ensure the following to enroll your device using Active Directory:
|
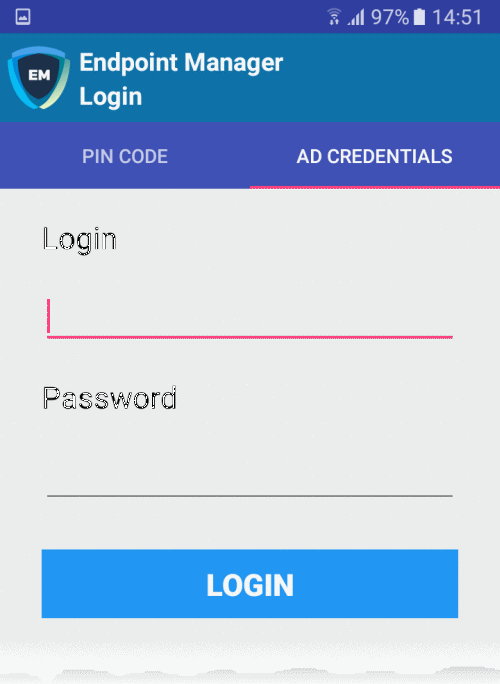
- Enter the username and password you use to login to your network domain.
- Tap the 'Login' button
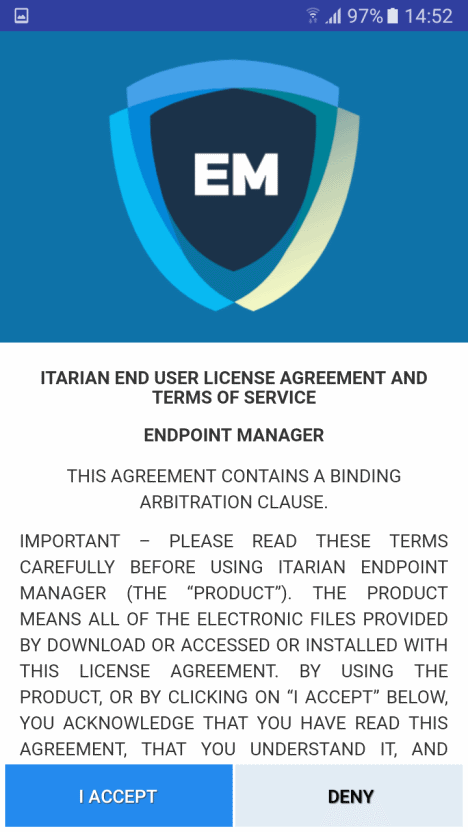
- Scroll down then click the 'I Accept' button
This starts the client activation screen. Activation requires the client is given some privileges:
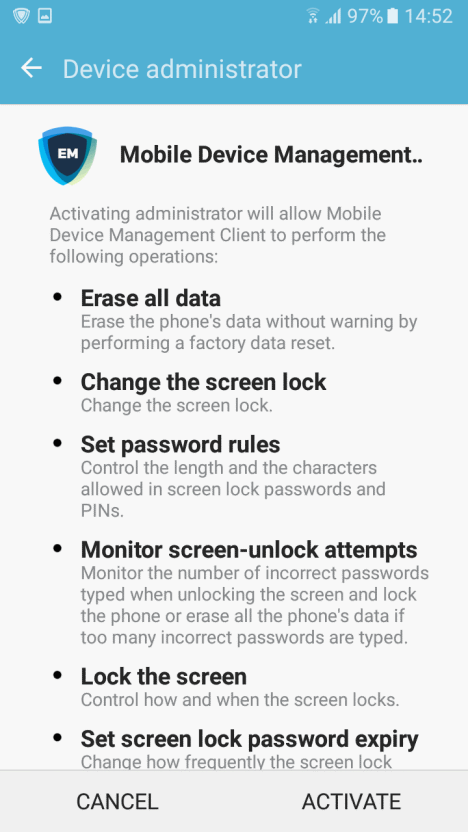
- Tap 'Activate'.
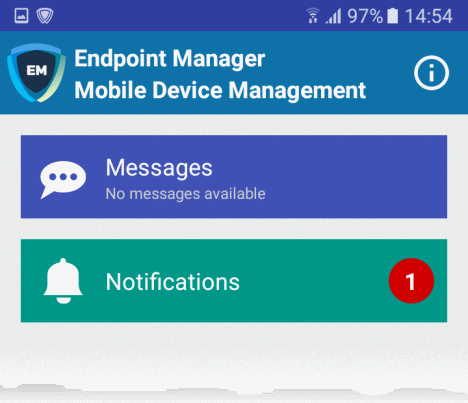
The communication client home screen opens:
The device is enrolled to Endpoint Manager and can be remotely managed from the EM console.