


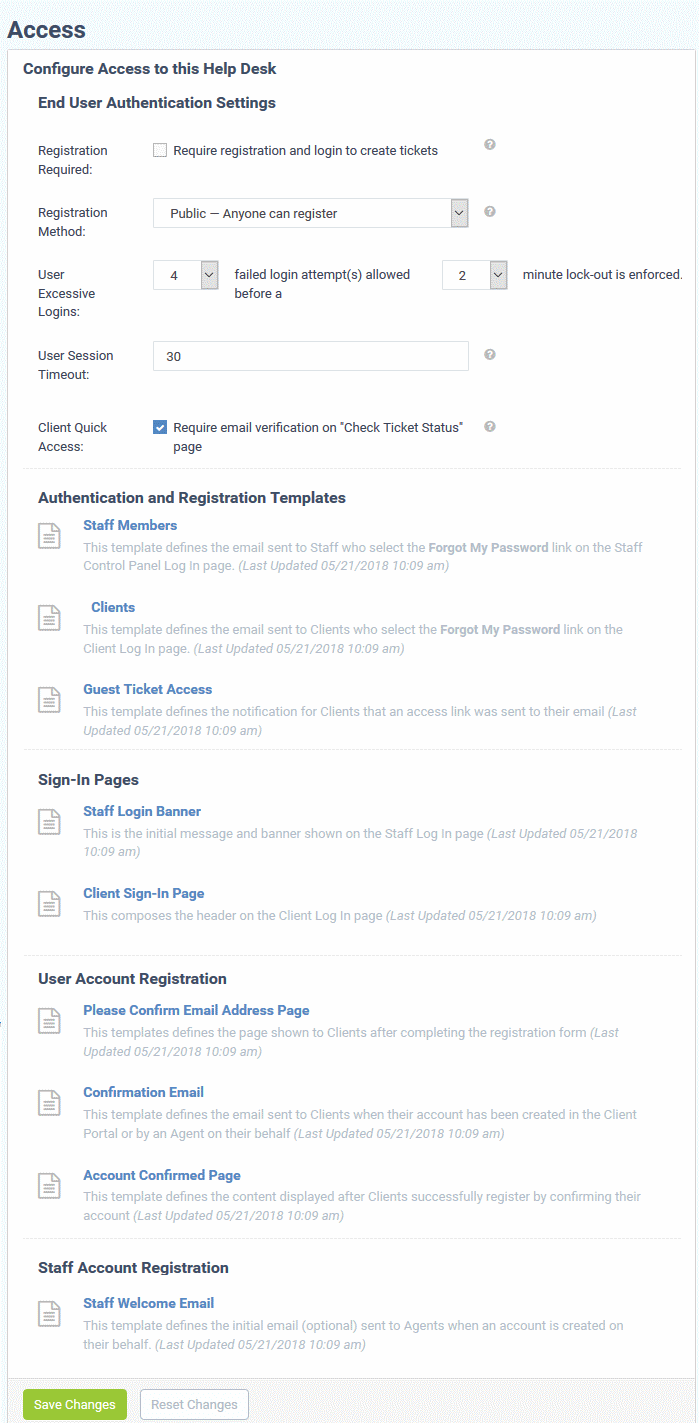
Access Control Settings
- Click 'Admin Panel' > 'Settings' > 'Access Control Settings'
- 'Access Control Settings' let you configure password policy for staff, authentication settings for end-users, and email templates for 'Forgot My Password' links.
- You can also configure settings for user account registration, staff registration and banners for log-in pages.
Click the following links for more
details on each category:
End User Authentication Settings
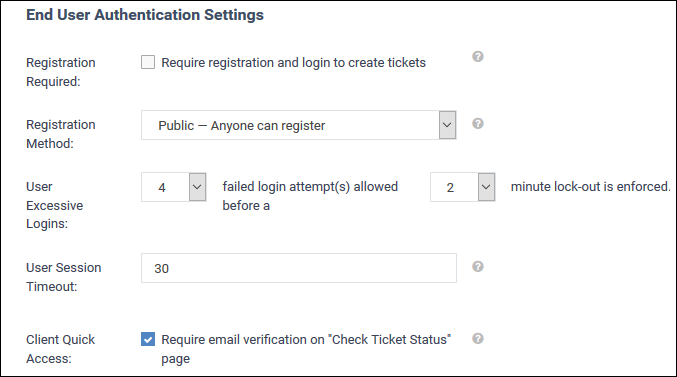
- Registration Required and Registration Method are used together to configure how users register and access the web portal of your help desk. The following table summarizes how the two settings work together:
|
Registration Required |
Registration Method |
Result |
|---|---|---|
|
No |
Public |
Registration is not required to create support tickets. Registration is, however, available and encouraged. |
|
Yes |
Public |
Users must register to create support tickets. |
|
No |
Private |
Anyone can create a ticket. Only staff members can register accounts. |
|
Yes |
Private |
Users can only submit tickets after registering. Registration is by invitation only. |
|
No |
Disabled |
No one can register for an account, but anyone can create a ticket. |
|
Yes |
Disabled |
Users must register to submit tickets, but registration is disabled. Effectively disables new tickets via the web portal. |
- User Excessive Logins: Select the number of times a failed logins attempts is allowed for users from the first option. If the number of failed login attempts exceeds this number, the user account will be temporarily locked. You can specify the lockout period by choosing it from the second drop-down.
- User Session Timeout: Enter the maximum idle time in minutes before a user is required to log in again. Enter 0 if no timeout is required.
- Client Quick Access: If disabled, the users can immediately access their tickets via the 'Check Ticket Status' login page. If enabled, users will be required to receive an email and follow a link in the mail to view the ticket. Disabling email verification might allow third parties (e.g. ticket collaborators) to impersonate the ticket owner).
Authentication and Registration Templates
This section allows admins to edit the templates of emails that are sent to staff members and clients. You can also edit the template of the mail sent to guests to access their tickets.
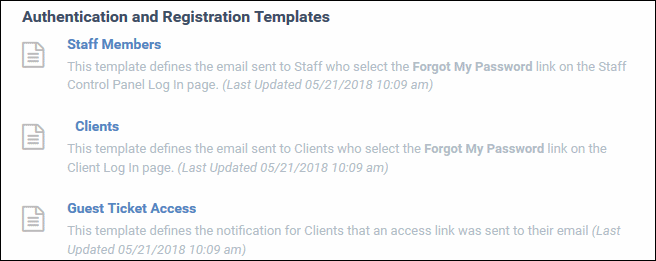
Staff Members
- Click the 'Staff Members' link to edit the template of the forgotten password mail sent to staff:
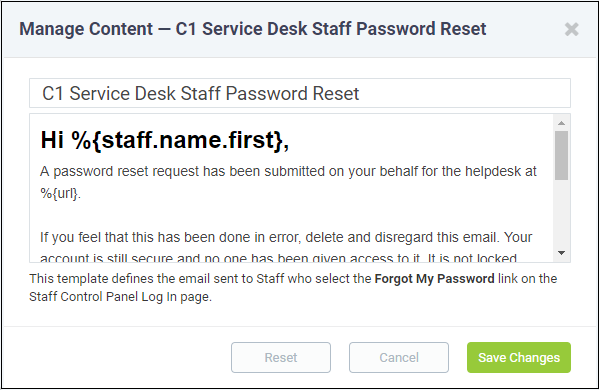
- Edit the template as required and click 'Save Changes'. Make sure the variables defined in the template are correct.
Clients
- Click the 'Clients' link, to edit the template of the forgotten password mail sent to clients:
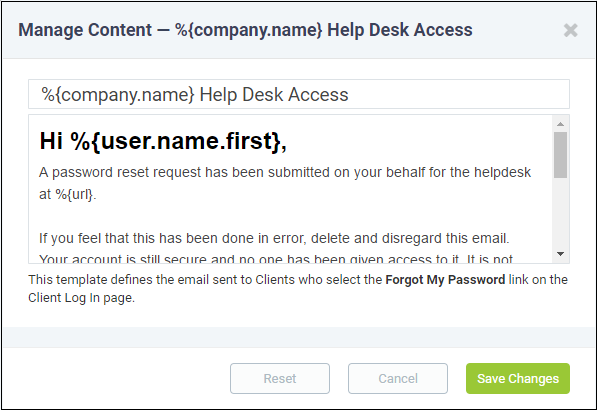
-
Edit the template as required and click 'Save Changes'. Make sure the variables defined in the template are correct.
Guest Ticket Access
- Click the 'Guest Ticket Access' link, to edit the template of email notification that is sent to clients with access link to their tickets
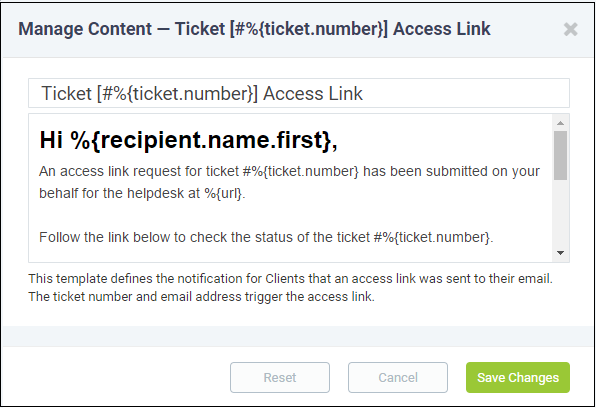
- Edit the template as required and click 'Save Changes'. Make sure the variables defined in the template are correct.
This section allows administrators to edit the message and banner displayed on the staff member's Log In page and Client Sign-In page.
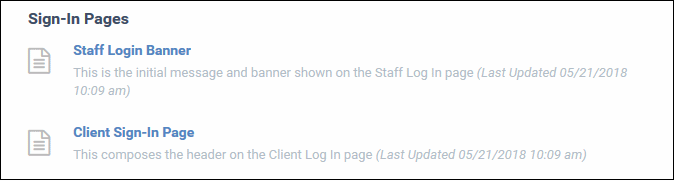
Staff Login Banner
- Click the 'Staff Login Banner' link, to edit the message shown on the 'Staff Log In' page
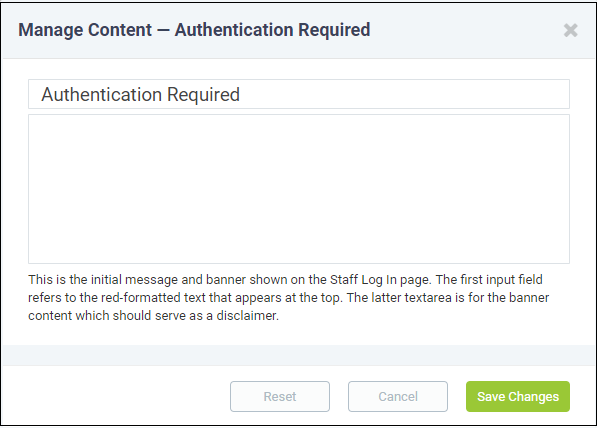
- Edit the message as required. The text entered in the first field appears as red text at the top. The text area serves for the banner content.
- Click 'Save Changes' for the changes to take effect.
Client Sign-In Page
Click the 'Client Sign-In Page' link, to edit the header shown on the Client Log In' page.
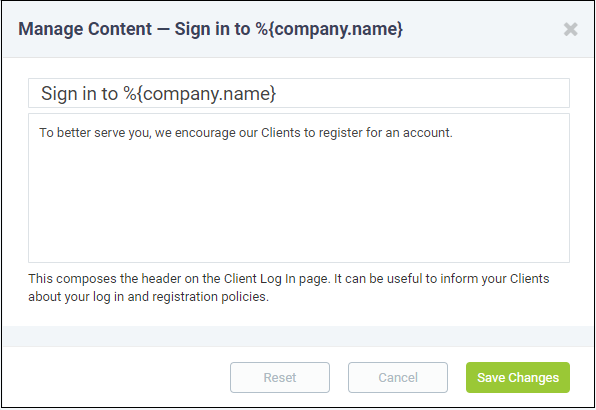
- Edit the message as required. The text entered in the first field appears as blue text below the menu bar. The text area serves for providing other information.
- Click 'Save Changes' for the changes to take effect.
This section allows you to edit the email templates that are sent to users for confirming their email address, account creation and account confirmed emails.
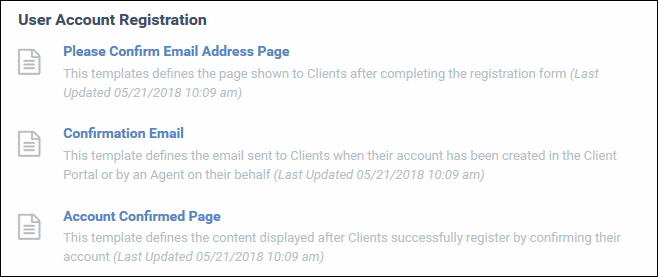
Confirm Email Address Page
Click the 'Please Confirm Email Address Page' link, to edit the template of email that is sent to users after completing the registration form.
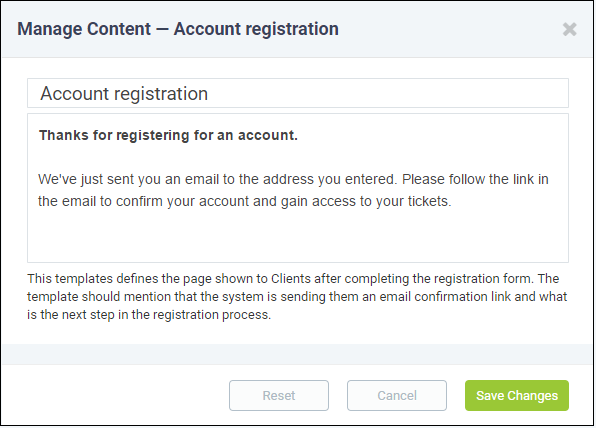
- Edit the message as required. Make sure to mention that the ITarian Service Desk system is sending them a confirmation email link and the next steps for completing the registration process.
- Click 'Save Changes' for the changes to take effect.
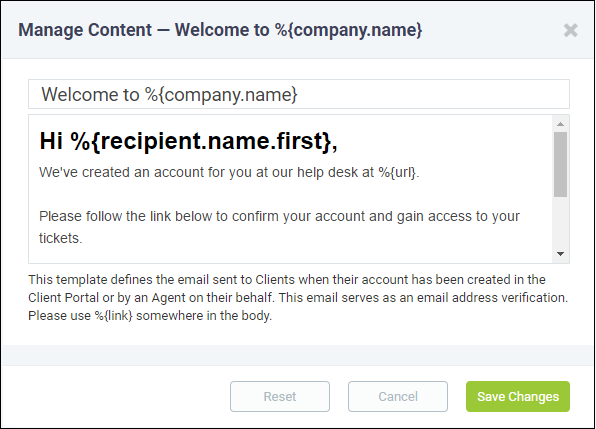
Confirmation Email
-
Click the 'Confirmation Email' link, to edit the template of email that is sent to users after their account has been created.
-
Edit the template as required and click 'Save Changes'. Make sure the variables defined in the template are correct.
Account Confirmed Page
- Click the 'Account Confirmed Page' link, to edit the template of email that is sent to users after their account has been successfully registered.
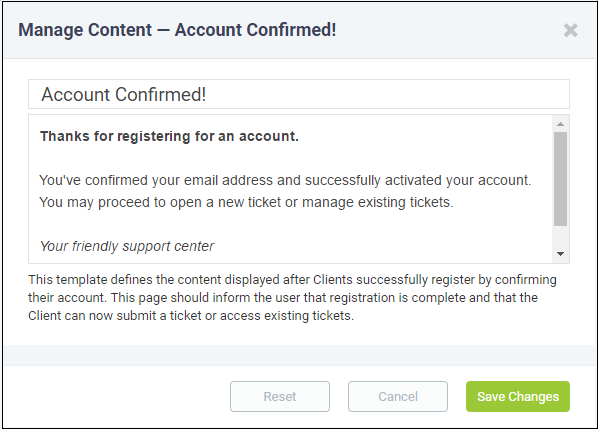
-
Edit the template as required and click 'Save Changes'. Make sure the variables defined in the template are correct.
This section allows administrators to edit the email template that is sent to Staff Members whose account is created by an administrator. This welcome email is optional and is configured in the 'Staff Members' page. See Staff Members for more details.
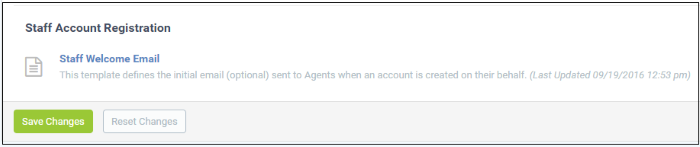
- Click the 'Staff Welcome Email' link, to edit the template of welcome email that is sent to staff members after their account has been successfully created by an administrator
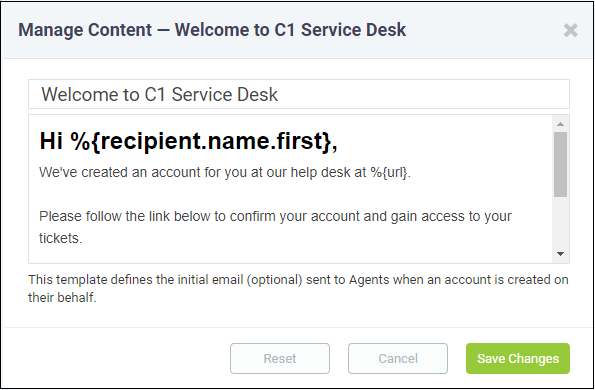
- Edit the template as required and click 'Save Changes'. Make sure the variables defined in the template are correct.
- Click 'Save Changes' at the bottom of the screen for the access control settings to take effect.