

Step 8 - Manage the Knowledgebase and Canned Response
Login to Agent panel > ‘Tools’
- You can create predefined templates and articles in tools bar. Canned response used to quickly insert pre-formatted reply templates into your messages while knowledge base promotes self-help in your support portal by posting an article to the end-users.
The following sections explain more on:
- Create a canned response
- View knowledge base
Canned
Response
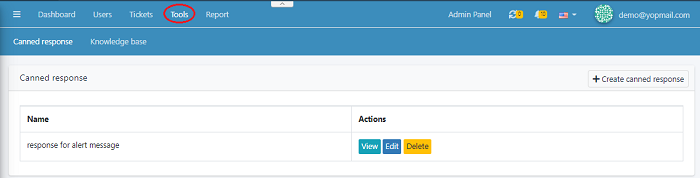
- Click ‘Tools’ > ‘Canned response’
- It is the predefined templates created in the
system. Canned Response reply to the end-users option helps you to attach the
files and folders and send it for the reference of the end-users. We make use
of canned responses to send out similar responses to a number of users.
- Admin’s and Agents who has permission can create
a canned response reply.
- Click on the ‘Create Canned Response’ to
create a new canned response.
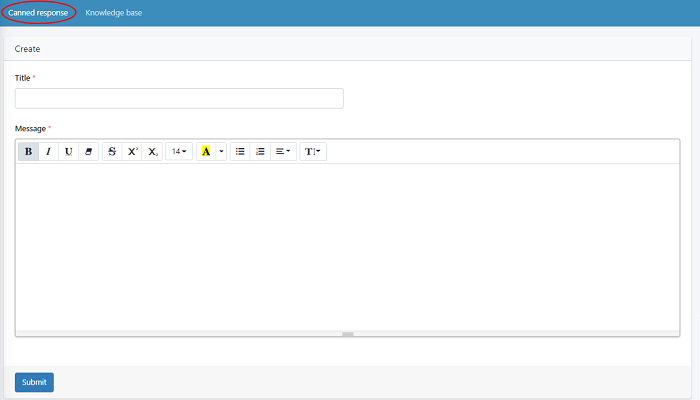
- Add the Title of the canned response
in the specified boxes.
- Enter the canned message you want to share with
users/agents
- Click ‘Submit’ to save your response. You can create and keep multiple canned
responses and make it available at all the time of replying to the end-users.
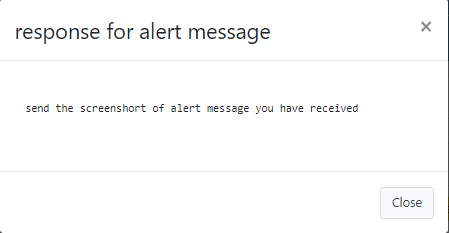
- To view the canned response, click ‘view’. Your added message will be displayed like this.
- Click ‘Edit’ button to edit the added canned
response and click ‘submit’ to update your changes
- Click ‘Delete’ to delete a existing added canned
response.
Create and
manage Knowledge base
- Navigate to Agent Panel > Tools >
Knowledge Base Categories > Add New Category.
- The Knowledge base promotes self-help in your
support portal by posting an article to the end-users. Knowledge base articles
would probably include different categories under which you can categorize your
articles.
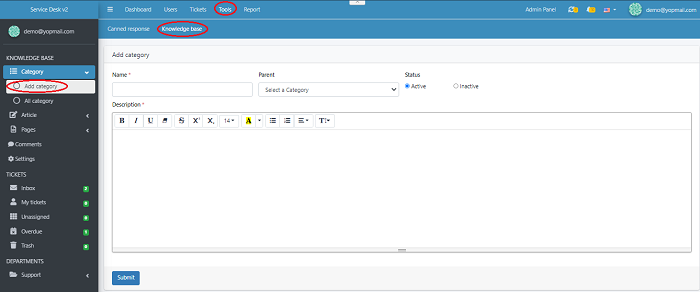
- Enter an appropriate name
- Select a parent from the drop down list and add
a description for the category you are about to create and set the category
display order and make the category Active. If you don’t want to display the
category you can set this as Inactive.
- Click Submit for saving the category
You can also view all the list of categories created in the system by Navigating to Agent Panel > Tools > Knowledge Base > Categories > All Category.
- The categories which you add in the Agent Panel
is displayed in Client Panel > Knowledge
Base > Categories
Creating an Article
- Go to Agent Panel > Tools > Knowledge
Base > Articles > Add New Article
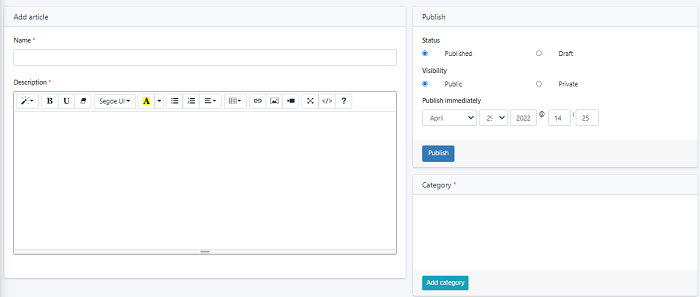
- Name the article by specifying an appropriate name in the given box. Enter a description that need to be appear along with that.
- Choose the category under which the article needs to be published
Choose the visibility for this article:
- You can also set the date and time when the article needs to be published.
- Once you fill this up, click on Save if you still need to work on it you can make that as Draft. This will save the article as a draft. Click on Publish if you wish to publish the solution article.
You can also view all the list of articles created in the system by Navigating to Agent Panel > Tools > Knowledge Base > Article > All Article.
- The article which you add in the Agent Panel is displayed in Client Panel > Knowledge Base > Article
Create pages
- Click Agent Panel > Tools > Knowledge Base > Pages > Add pages
The helpdesk allows you to create different pages and display the content in the client panel.
- To do so navigate to Agent Panel > Tools
> Pages > Add Pages.
- You can specify the name of your page and description .You can write the page format and the content in the rich text editor or using the editor.
Choose the visibility for this article:
- You can choose to make the article visible to
the Public/Private. The public page is visible to all and the private page is
visible only to the logged-in agents.
- Once you fill this up, click on Save if you still need to work on it you can make that as Draft. This will save the article as a draft. Click on Publish if you wish to publish the solution article.
Comments Section
- Click Agent Panel > Tools > Knowledge Base
> Comments
- Open Comments session is given for the clients to post their suggestions or queries. So we have the possibility to publish these comments on the article.
To view the comments of your users posted on the articles navigate to Agent Panel > Tools > Knowledge Base > Comments.
Settings on Knowledge
base
Click Agent Panel > Tools > Knowledge Base > Settings
- Knowledge Base Settings allows you to display
the articles for your users and it supports clients by providing the solution
for their queries. In case if you do not want to show the Knowledge Base to
your customer’s you can disable it from Agent Panel > Knowledge Base by
making the settings Inactive.
- You can also define the count of the article to
display it on the client portal per page and save the settings.
