


Step 4
- Add New Support Staff
The next step is to add new staff members. Staff are the personnel who will respond to support tickets from end-users.
- You can add staff in the ITarian portal at https://www.itarian.com/app/msp/login.
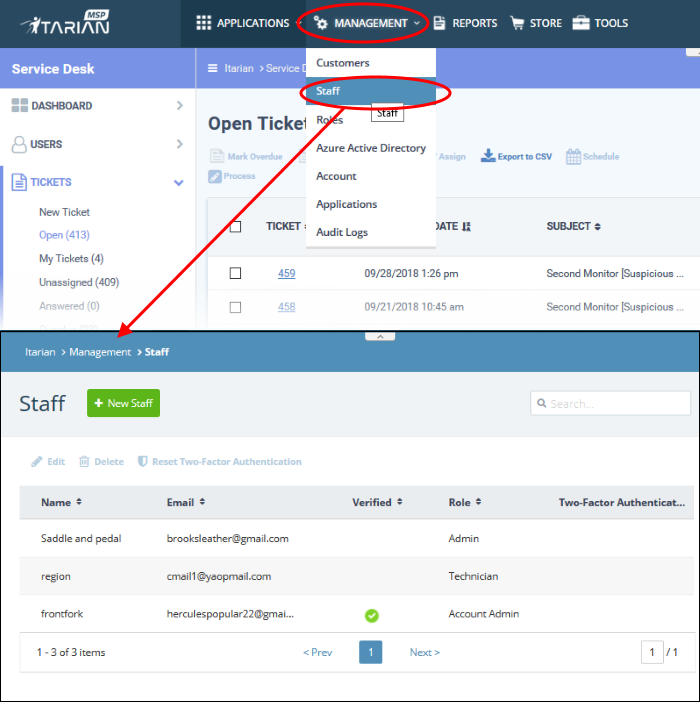
- Click 'Management' > 'Staff' > '+ New Staff' in the ITarian interface.
- Staff created in ITarian are available in Service Desk and all other ITarian products (Endpoint Manager, Quote Manager etc).
- Staff created in ITarian are assigned to the 'default department' in Service Desk. You can assign staff to different departments as required.
- There are two types of roles – Service Desk roles and ITarian roles.
- Staff will initially be given the same role in Service Desk as they have in ITarian.
- You can change this role in Service Desk at any time.
- The role you assign to them in Service Desk will not affect their role in ITarian.
- Click 'Management' > 'Staff' > '+ New Staff' in the ITarian interface to get started:
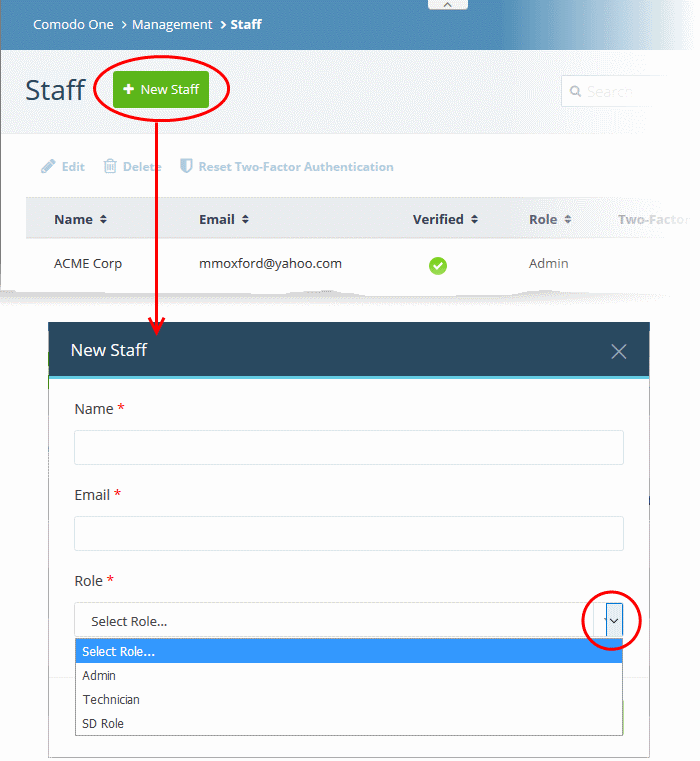
- Click 'New Staff' at top
|
Note: Staff with 'Admin' privileges can only be added by the account administrator. |
- Name - First and last name admin/staff member.
- Email - Contact email address of the admin/staff member. The verification email for the admin/staff to activate their account will be sent to this email address.
- Role - Select the role of the staff from the drop down. You can always change this later if required.
- Click the 'Save' button.
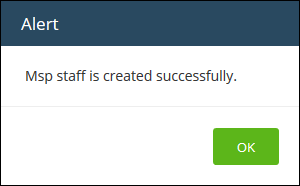
A confirmation mail is sent to the user containing an account verification link. Users will click the link to verify their account then create a Service Desk password..
Change staff role and department
- Open the 'Admin panel' in Service Desk (see last link on the left)
- Click 'Staff' on the left then choose 'Staff Members'
- Click the name of the staff member.
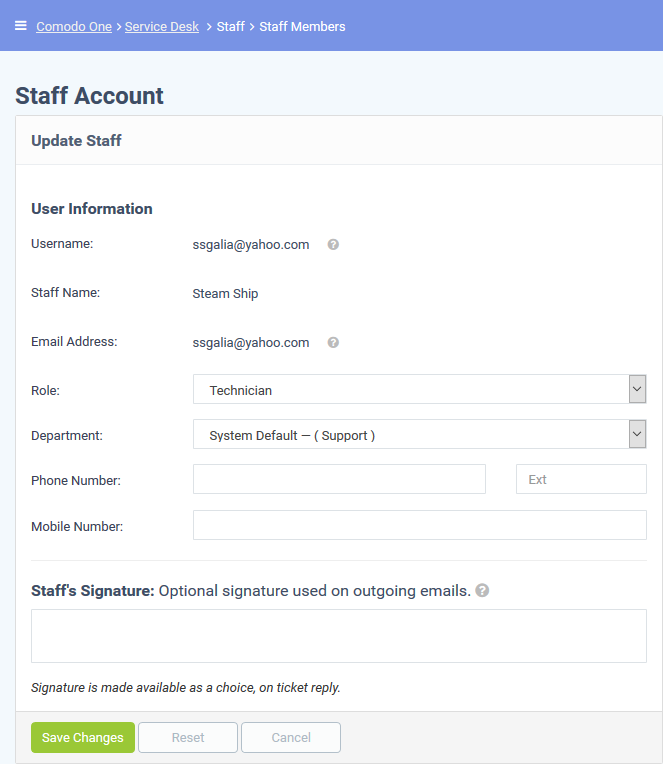
The 'Update Staff' screen allows you to edit staff details:
- Role - Service Desk role, as inherited from ITarian.
- Select a new role if required from the drop-down.
- Click 'Admin Panel' > 'Staff' > 'Roles' to view and configure roles.
- Department - The department to which the staff member belongs.
- Staff members are initially added to the department set as 'System Default' in Service Desk.
- Select a new department for the staff member if required.
- Click 'Admin Panel' > 'Staff' > 'Departments' to view, add and edit departments.
- Click
'Save Changes' to update the staff member details.