


Account Settings
Account Settings - Profile
View and edit your personal account information, and manage two-factor authentication for enhanced security.

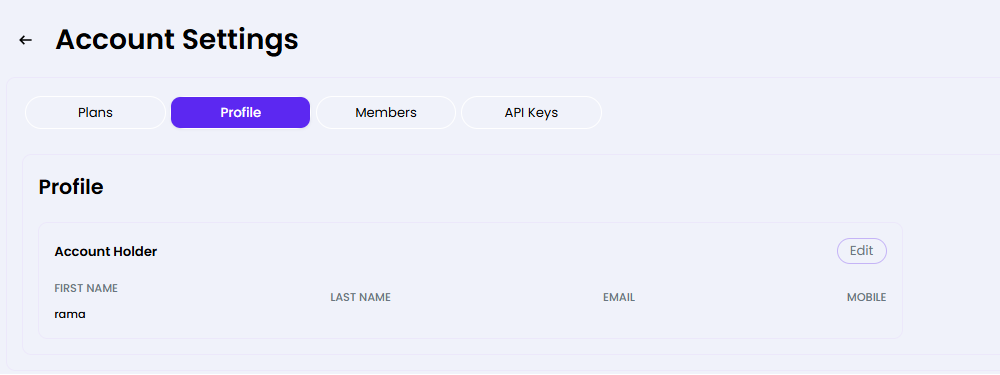
What you can do here
- View your First Name, Last Name, Email, and Mobile number
- Click Edit to update your account holder information
- Toggle Two Factor Authentication to add an extra security layer
Profile Fields
| Field | Description |
| First Name | Your given name |
| Last Name | Your family name |
| Login email address (used for notifications) | |
| Mobile | Phone number (used for 2FA SMS if enabled) |
Note: For Two Factor Authentication, use an authenticator app such as Authy, 1Password, or Google Authenticator to generate authorization codes.
Account Settings - Plans
View your current subscription plan, manage auto-renewal, and browse available add-on packages to expand your capabilities.

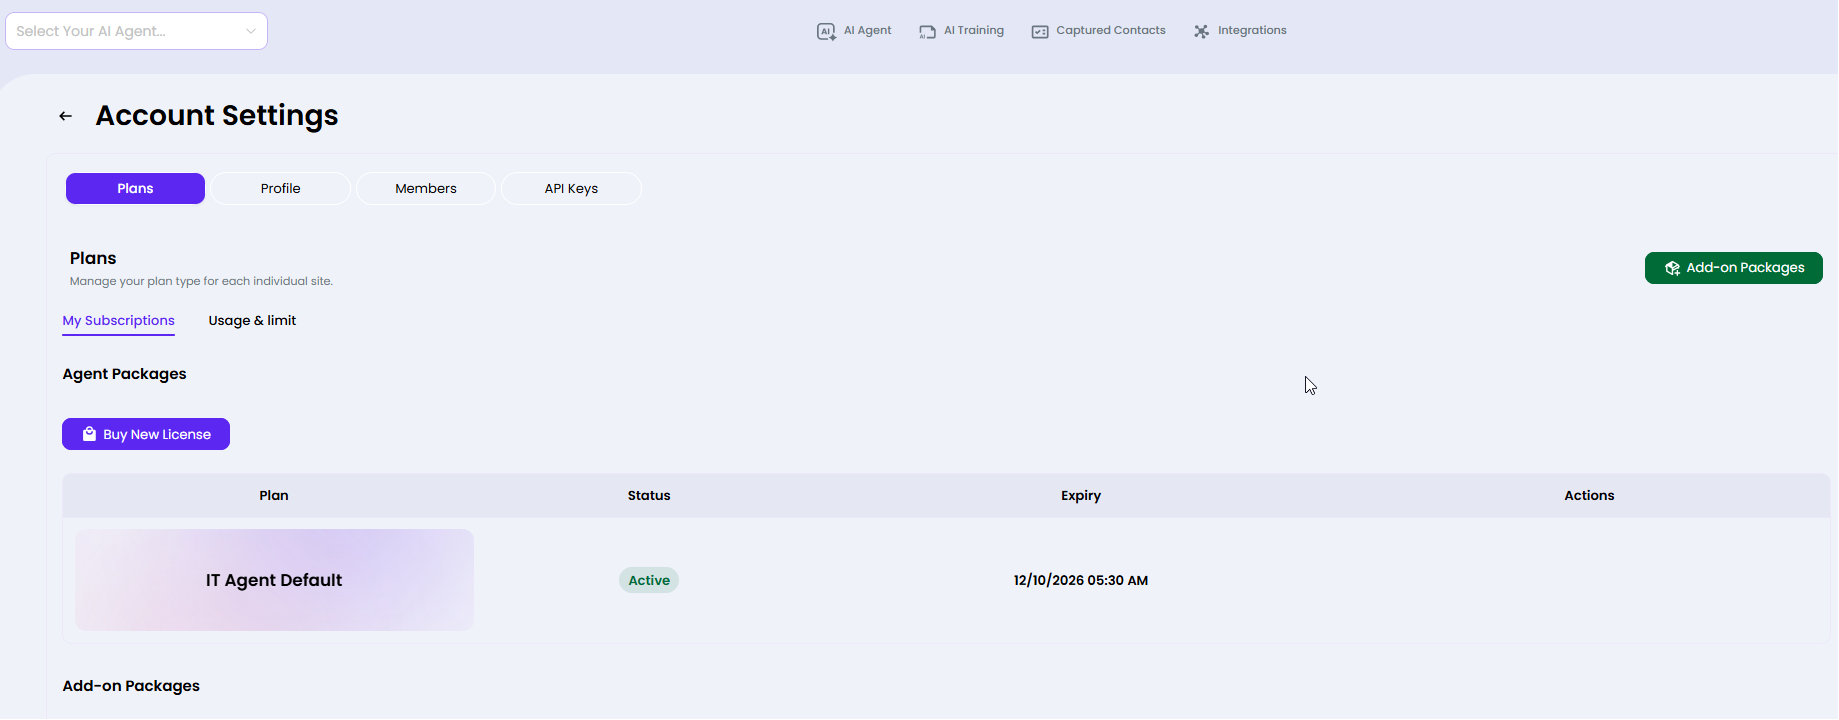
What you can do here
- View your active Retail Plan name, status, and expiry date
- Toggle Auto Renew on/off for your subscription
- View the My Subscriptions sub-tab for your current plans
- View Usage & limit sub-tab to monitor consumption against your plan limits
- Click Add-on Packages to browse and purchase additional capabilities
- Click Browse Add-on Packages to explore available expansions
Plan Table Columns
| Column | Description |
| Plan | Name of the subscription tier (e.g. NuWeb Admin) |
| Status | Active with optional Auto Renew badge |
| Expiry | Date and time the plan expires |
| Actions | Toggle Auto Renew on/off |
Account Settings — Members
Invite and manage team members who can access your account, assigning each a role that controls their permissions.

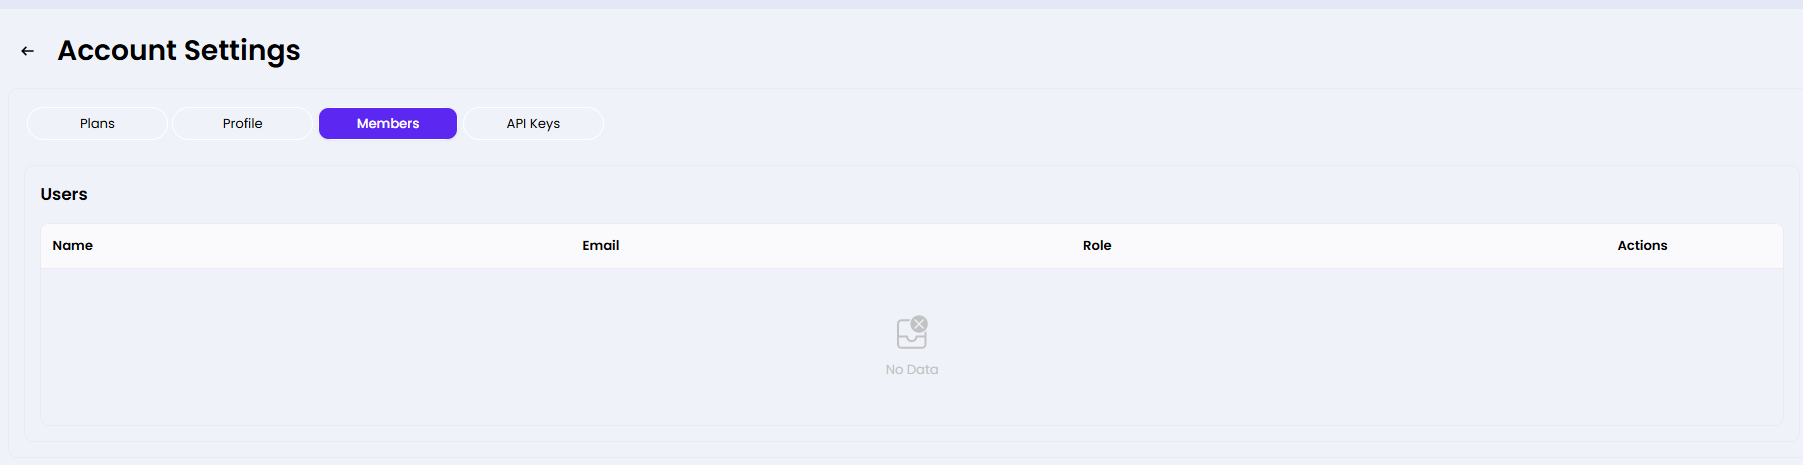
What you can do here
- Click + Add User to invite a new team member by email
- View each member's Name, Email, and assigned Role
- Edit or remove members via the Actions column
Users Table Columns
| Column | Description |
| Name | Team member's display name |
| Login email address of the member | |
| Role | Permission level (Owner, Admin, Viewer, etc.) |
| Actions | Edit role or remove the member from the account |
Account Settings — API Keys
Generate and manage API keys for programmatic access to ITarian services, including Generative AI and ChatBot integrations.
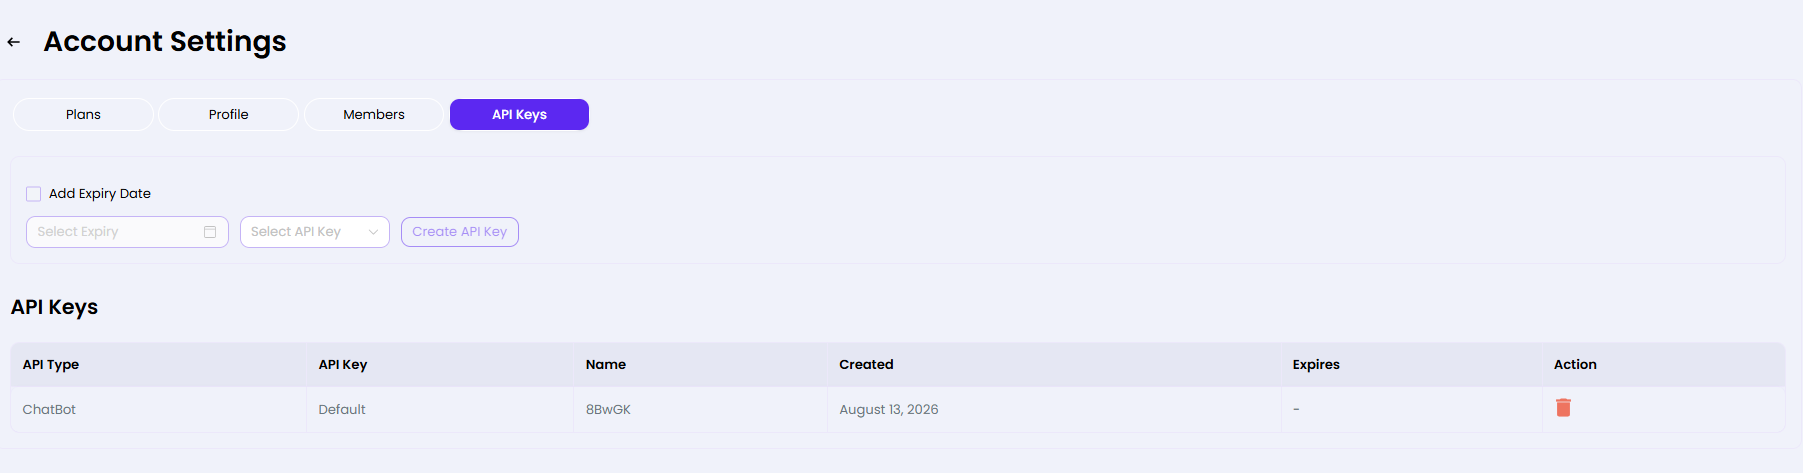

What you can do here
- Select an API Key type from the dropdown (Generative AI, ChatBot)
- Optionally check Add Expiry Date and pick an expiry date
- Click Create API Key to generate a new key
- View existing keys in the table with their type, name, creation date, and expiry
- Click the delete icon to revoke an existing API key
API Keys Table Columns
| Column | Description |
| API Type | Generative AI or ChatBot |
| API Key | The key value (partially masked for security) |
| Name | Short label to identify the key |
| Created | Date the key was generated |
| Expires | Expiry date, or "–" for non-expiring keys |
| Action | Delete/revoke the key |
Note: API Keys are shown only once upon creation. Store them in a secure location immediately. Revoking a key is permanent and cannot be undone.