Scan Profiles
- Scan profiles let you choose specific folders, drives or areas to scan. Once saved, you can apply a scan profile to a scheduled or on-demand scan.
- You can create as many custom scan profiles as you want
- Note:
Managed endpoints – scan profiles should be configured in the
Endpoint Manager profile.
Open the Scan Profiles interface
- Open Comodo Client Security
- Click the 'Antivirus' tab
- Click
'Scan
Profiles'
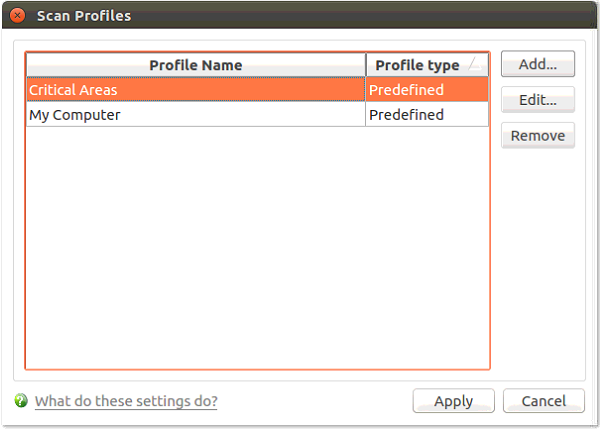
CCS has two default profiles: 'Critical Areas' and 'My Computer'. These two profiles are predefined and cannot be edited or removed.
- My Computer - Scans every local drive, folder and file on your system.
- Critical Areas - A targeted scan of important operating system files and folders.
The following sections explain how to:
- Click 'Scan Profiles' on the 'Antivirus' tasks interface.
- Click 'Add'. The 'Scan Profile' dialog appears:
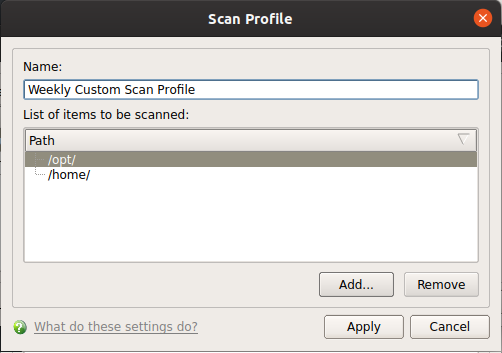
- Name - Enter a label for the scan profile.
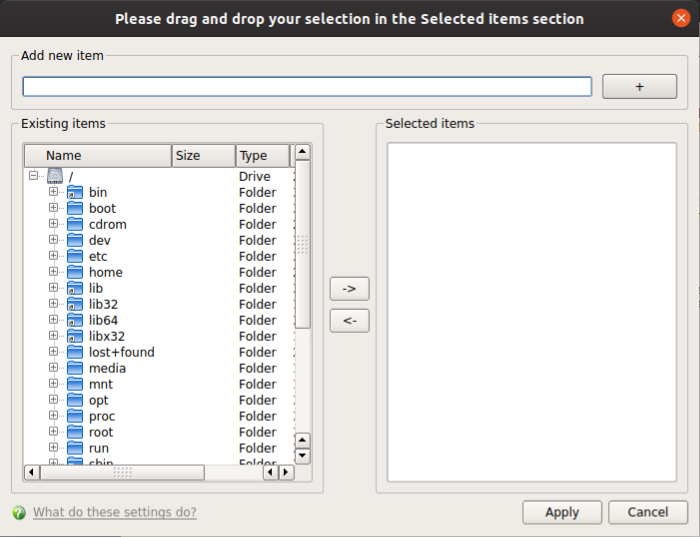
- Click 'Add' to select the items you want to include in the scan.
There are two ways to add scan locations:
- Manually enter the path in the 'Add new item' field. Click '+' to add the item.
- Drag and drop items from the left pane to the right pane. You can also use the arrow buttons.
- Click 'Apply'.
- Repeat
the process to add more items.
- Click 'Apply' in the scan profile dialog.
The new profile will be available in the 'Run a Scan' panel:
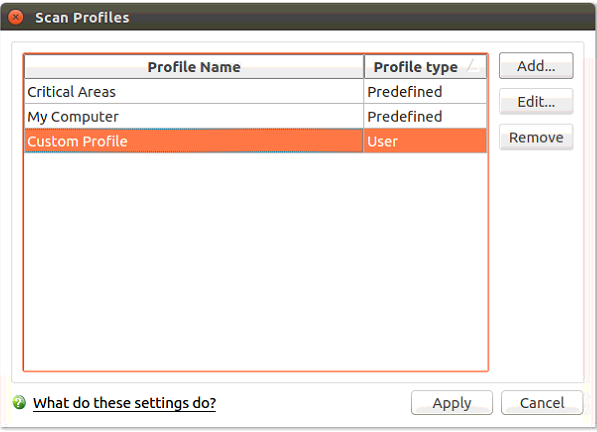
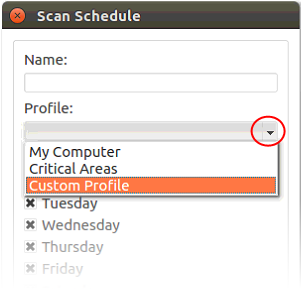
It is also available for selection during a scheduled scan. See Scheduled Scans for more details.
- Open Comodo Client Security
- Click the 'Antivirus' tab
- Click 'Scan Profiles'
- Select the profile you want to update from the list and click 'Edit'. The procedure to update a scan profile is the same as adding a profile (explained above).
- Open Comodo Client Security
- Click the 'Antivirus' tab
- Click 'Scan Profiles'
- Select the profile you want to remove from the list and click 'Remove'
Note: You cannot delete predefined scan profiles ('Critical Areas' and 'My Computer').


