


Add Comodo Dome Cloud Firewall
Comodo Dome Cloud Firewall is a cloud based security application which incorporates a unified firewall for networks and a secure VPN service.
- Dome Cloud Firewall is available only to C1 Enterprise customers.
- Dome Cloud Firewall, Dome Data Protection and Dome Antispamare premium add-ons for 'Comodo Dome Secure Web Gateway'. These add-ons can only be added to your account if you have Comodo DomeSecure Web Gateway.
Please read the following sections to learn more about:
New licenses the Dome Cloud Firewall can be purchased and activated from the 'Store' interface:
- Click 'Store' on the menu bar
- Click 'Buy' in the 'Dome Cloud Firewall' tile:
- This will open the product purchase page:
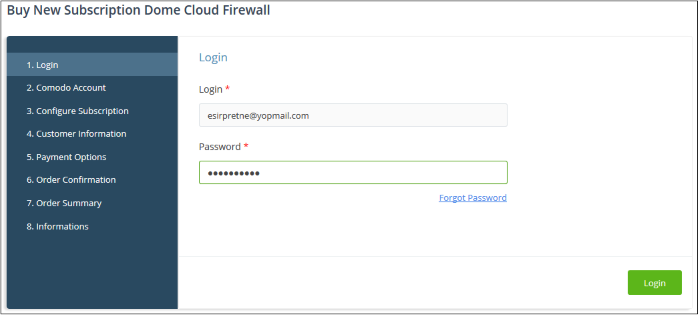
Your login username will be pre-populated and cannot be changed.
- Enter your Comodo One account password in the 'Password' field and click 'Login'
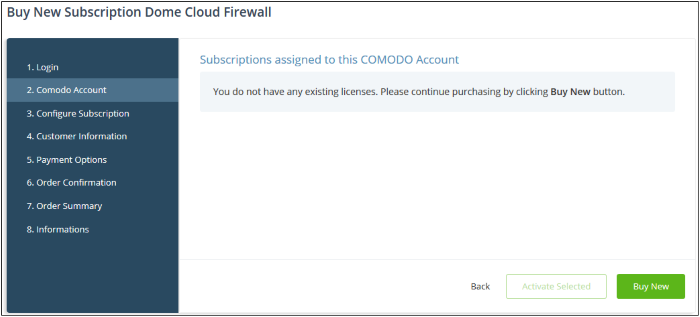
- Click 'Buy New'
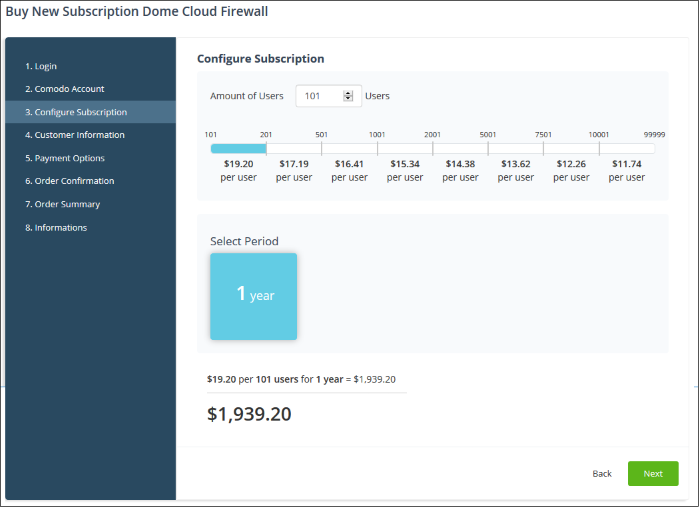
- In the 'Buy New Subscription Dome Cloud Firewall' screen, enter or select the number of users you require. The per user rate depends on the number of users.
- The minimum license period is for a year
- Click 'Next' to continue to the customer information form:
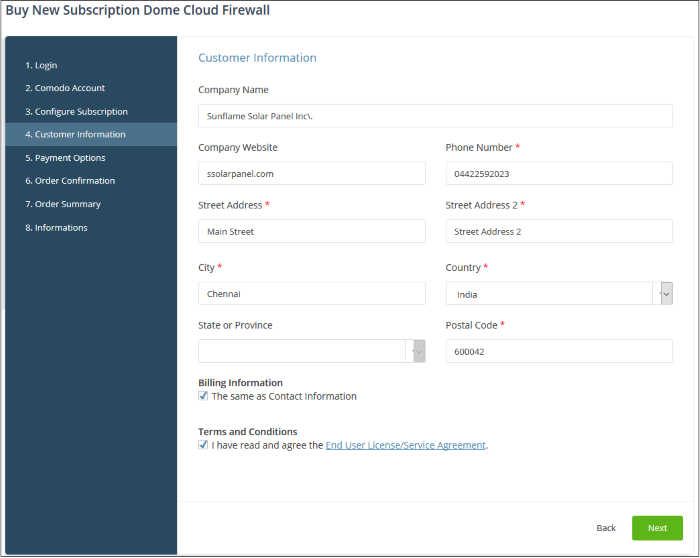
- Enter your company name, website and address details in the 'Customer Information' section then agree to the terms & conditions and click 'Next':
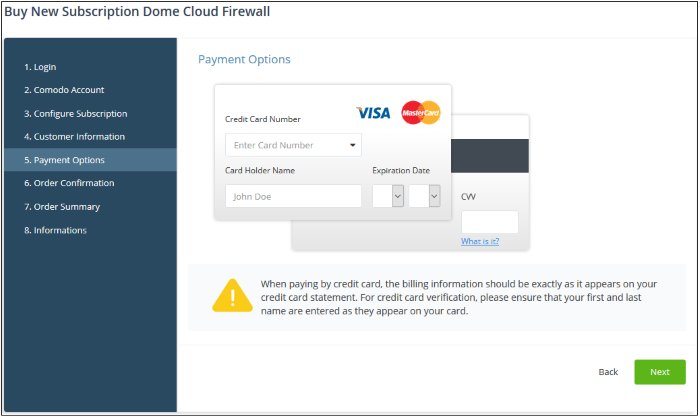
- Enter your payment card details then click 'Next' to proceed to the order confirmation page:
- Click 'Next' on the confirmation page to submit your order for processing.
- After
the purchase is complete, Dome Cloud Firewall will appear in the 'Applications' interface. See the description at the end of this section if you need more help to open the Dome Cloud Firewall interface.
- You can activate license through the 'Store' interface.
- You can also activate
licenses in linked accounts. To do this, you must first have linked
an account and set it as default. See Comodo
License Account Details for
more details on this process.
To add Dome Cloud Firewall by activating an existing license
- Click 'Store' on the menu bar
- Click 'Buy' on the Dome Cloud Firewall tile.
- This will open the product purchase page:
|
Reminder: If you are activating a license from a linked account, ensure that the linked account is set as the 'Default' account. For more details, see Comodo License Account Details. |
The username for the default account will be pre-populated.
- Enter the password for the default account and click 'Login'
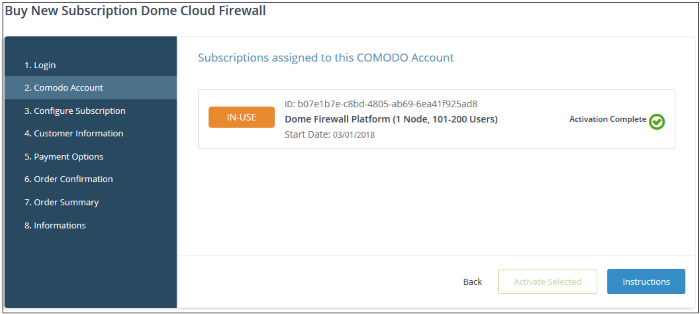
The 'Comodo Account' page will display Dome Cloud Firewall licenses associated with the default account:

- Select the license you wish to activate and click 'Activate Selected'
The license will be activated and Dome Cloud Firewall will be added to your list of 'Applications'.
- Click 'Instructions' to view info about Dome Cloud Firewall service URL configuration by Comodo. The URL information will be sent to your email within two business working days.
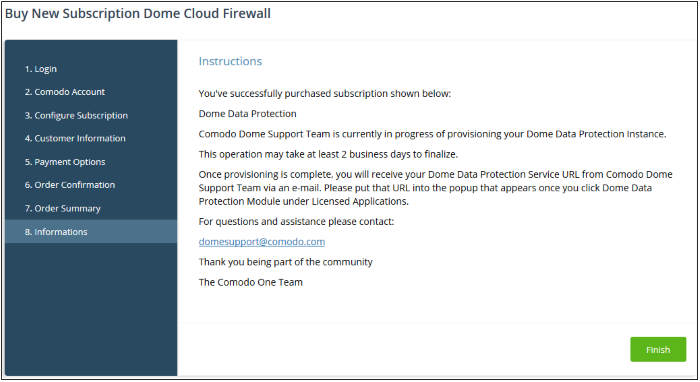
- Click 'Finish' to complete the purchase process.
To
open the 'Dome Cloud Firewall' interface
|
Note: You should have configured the Dome Cloud Firewall URL details in the Settings tab under 'Management' > 'Applications'. Information about this will be shown at the end of product sign up process. The service URL will be mailed to your email address when ready. |
- Click 'Applications' on the menu bar then choose 'Dome Cloud Firewall' from the list.
OR
- Click 'Applications' on the menu bar then choose 'All Applications' from the drop-down.
All licensed modules for your account will be displayed as tiles:
- Click 'Open Module' on the 'Dome Cloud Firewall' tile
The 'Dome Cloud Firewall' interface will open. If you have not configured the URL in the Settings tab under 'Management' > 'Applications', then the 'Application Settings' dialog will be displayed.
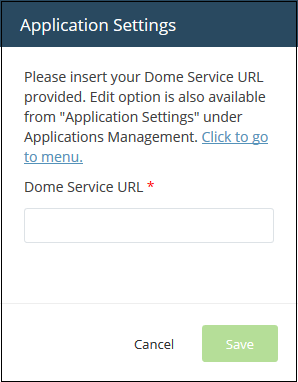
- Enter the service URL that was sent to your email and click 'Save'.
The 'Dome
Cloud Firewall' interface will open.