Add Comodo Dome Firewall Central Manager
Firewall Central Manager lets you manage multiple Dome Firewall installations on customer networks.
- Click 'Store' > 'Dome Firewall Central Manager' > 'Free' to obtain a free license
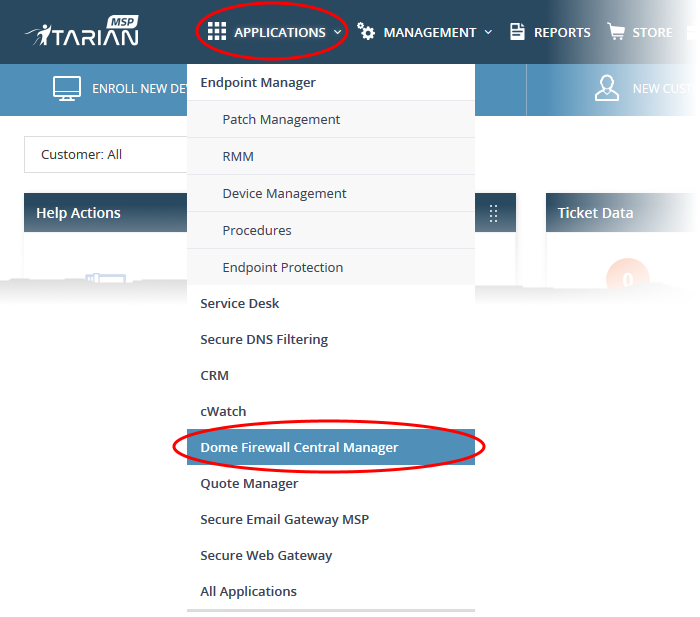
- Once setup, you can access central manager by clicking 'Applications' > 'Dome Firewall Central Manager'.
There are two ways you can setup the central manager:
- Virtual Appliance:
- Download the .ova file for Comodo Dome Firewall Central Manager from https://download.comodo.com/dome-repo/dome-fw-image/domefirewallcm.ova
- Install the virtual appliance on your network and assign a public IP address to it
- Once installed, you can use any browser to access the central manager console at https://[IP address of the virtual appliance]
- The default username is 'admin' and password is 'comodo' (without quotes)
- Activate the product by entering the license key purchased through ITarian
- Enable 'Single Sign-On' on the Dome Firewall Central Manager appliance and integrate it with your ITarian account to access the central manager console from ITarian. See https://help.comodo.com/topic-451-1-939-12863-Integrate-Central-Manager-with-Comodo-One.html for help with this
- Cloud version:
- Contact Comodo at provisiondome@comodo.com with your license key to setup the service.
- Once setup, you will receive the IP address or the URL on which the service is hosted.
- You can access your Dome Firewall Central Manager instance at https://
- The default username is 'admin' and password is 'comodo' (without quotes). You should change this after your first login.
- Activate the product by entering the license key purchased through ITarian.
- Integrate Dome Firewall Central Manager with your ITarian account by entering your access URL (https://
) as the 'Dome Service URL'. See https://help.comodo.com/topic-451-1-939-12863-Integrate-Central-Manager-with-Comodo-One.html if you need help with this.
- The basic trial version of the Dome Firewall Central Manager license is free and covers unlimited users for one year. The license can be upgraded at anytime from the ITarian console.
- You can upgrade Dome Firewall Central Manager on your account by subscribing for a new license in the ITarian console.
- If you already have Dome Firewall Central Manager on another Comodo Accounts Manager (CAM) or ITarian account, you can add it to your ITarian by linking the other account to your ITarian account.
|
Comodo Dome Firewall Virtual Appliance:
|
The following sections explain how to purchase and activate a license:
- Click 'Store' on the menu bar
- Locate the 'Comodo Dome Firewall Central Manager' tile
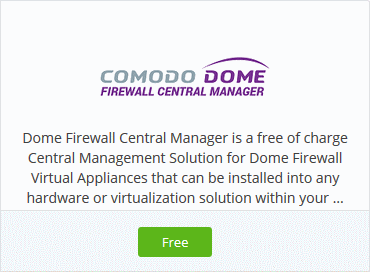
- Click the 'Free' button
You will be taken to the product order page.
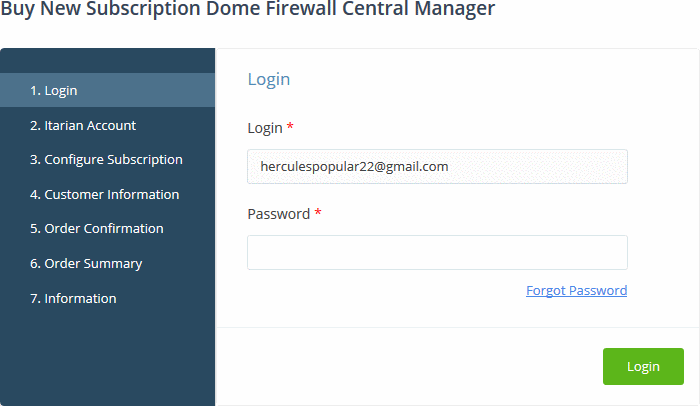
- Your username is pre-populated
- Enter your ITarian account password then click 'Login'
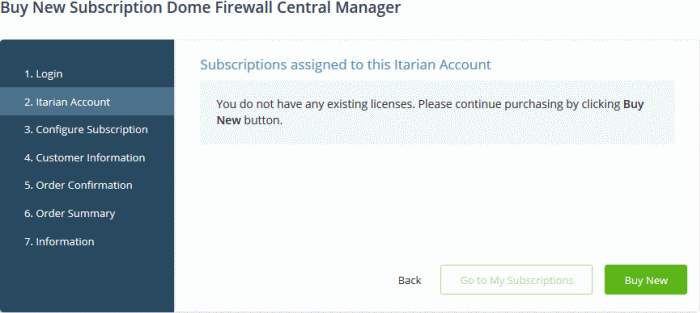
- Click 'Buy New' to purchase a new license
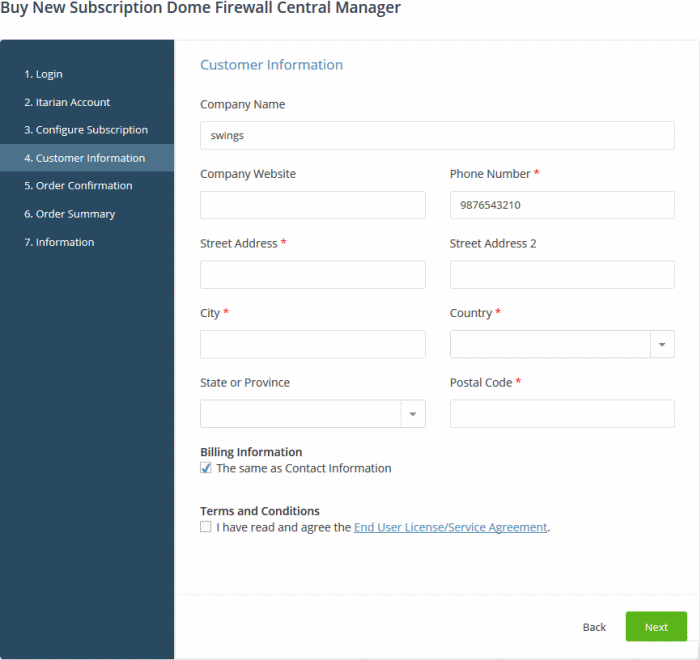
- Customer Information - Enter your company name, website and address details
- Agree to the terms and conditions and click 'Next'
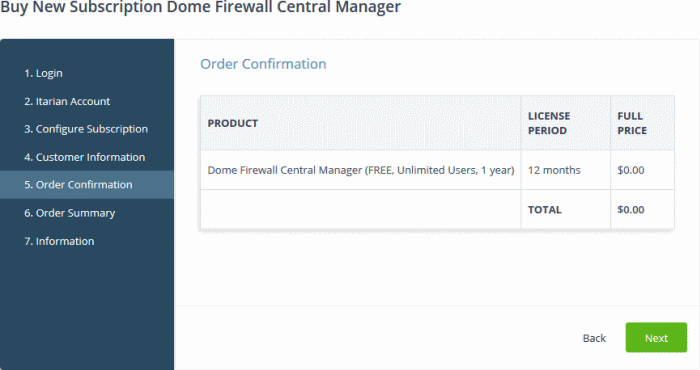
- Review your order and click 'Next'
- Your order will be submitted and processed. You will receive a confirmation mail with your license key.
- The order summary page is shown after your order has been processed:
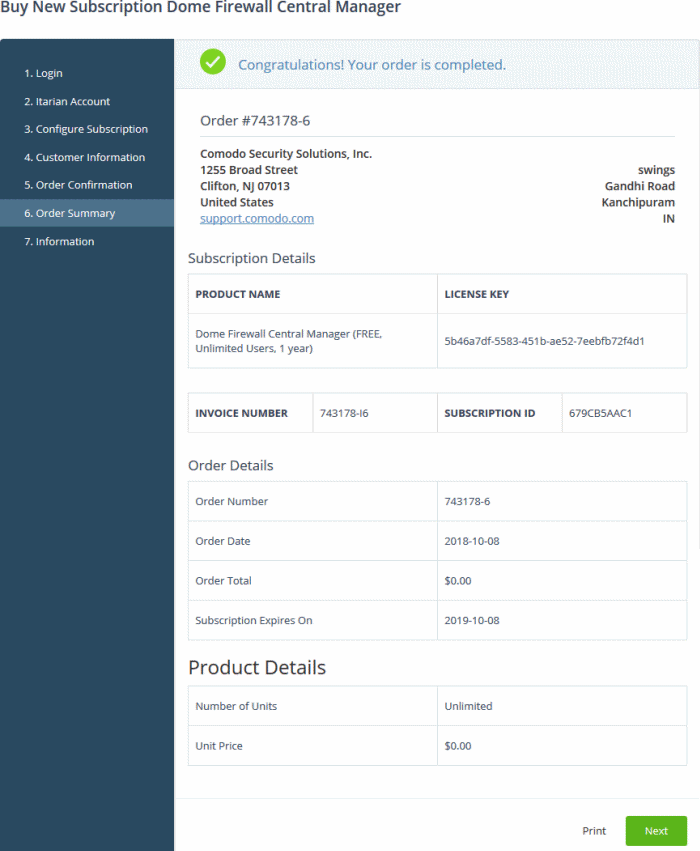
- Click 'Print' to make a hard-copy of the order summary
- Click 'Next' to view support details and instructions
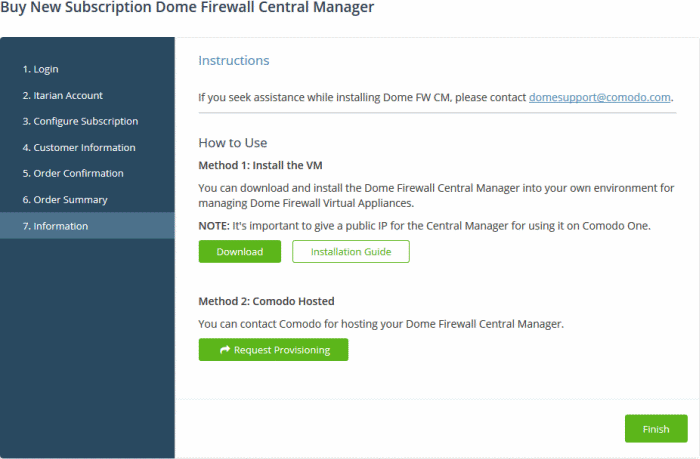
- The information page contains links to download the firewall central manager and instructions on how to install the appliance:
Setup Dome Firewall Central Manager Virtual Appliance
- Click the 'Download' button to get the central manager OVA file. You can install central manager on bare-metal appliances, and on VMs such as Virtualbox and VMware.
- Click 'Installation Guide' for help to setup the appliance
Setup Dome Firewall Central Manager - Cloud Version
- Click the 'Request Provisioning' button.
- This will send a request to our support dept. to create a central manager instance for you. You will receive an email with the address of the console within two working days.
- You can access the console as a standalone application at the address we give you, or you can enter it in ITarian then access it from the ITarian ‘Applications’ menu.

- Click 'Finish'
You can activate Dome Firewall Central Manager licenses in ‘Management’ > ‘Applications’. The process is slightly different if you want to activate a license in a different account.
All newly purchased licenses are activated immediately. Follow these steps only if your license is not active for some reason.
- Click ‘Management' > ‘Applications’ on the ITarian menu bar
- Click the 'Dome Firewall Central Manager' tile
- Click the ‘Subscriptions’ tab if not open already
- Select the license you want to activate
- Click ‘Activate’
Activate a license in a linked account
You can activate licenses in linked accounts by logging in to the other account at the product order form.
Note - You must first have linked an account and set it as default. See ITarian License Account Details for help with this.
- Click 'Store' on the ITarian menu bar
- Locate the 'Comodo Dome Firewall Central Manager' tile
- Click the 'Free' button

- You will be taken to the order form
- The username for the default account is pre-populated
- Enter the password for the default account then click 'Login':

- The next page shows Dome Firewall Central Manager licenses on your default account:
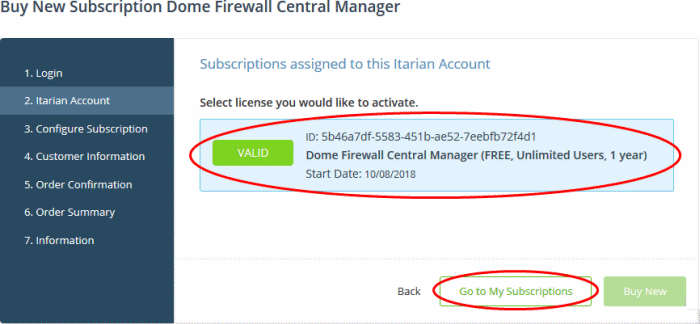
- Choose the license you want to use for this account then click 'Activate Selected'

The license will be activated.
- Click 'Instructions' to view the information page that contains guidance on how to set up Comodo Dome Firewall Central Manager on your network.

Setup
Dome Firewall Central Manager Virtual Appliance
- Click the 'Download' button to download the OVA file. The file can be used to install the product on bare-metal appliances, and virtual servers such as Virtualbox and VMware.
- Click 'Installation Guide' for help to setup the appliance.
Setup Dome Firewall Central Manager - Cloud Version
- Click the 'Request Provisioning' button.
ITarian will send a request to Dome support to create a Dome Firewall Central Manager instance for you. You will receive an email with the IP address/URL of the console within two working days.
- You can use this IP address/URL to access the console as a stand-alone application. Alternatively, you can enter it in ITarian console to access the console from the ITarian interface.

- Click 'Finish'.
Open Dome Firewall Central Manager
|
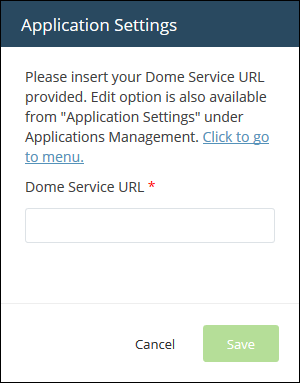
Note: You should have entered the address of central manager as the 'Dome Service URL' in the ITarian interface:
See https://help.comodo.com/topic-451-1-939-12863-Integrate-Central-Manager-with-Comodo-One.html for more help with this. |
- Login into ITarian at
https://www.itarian.com/
- Click 'Applications' > 'Dome Firewall Central Manager'
OR
- Click 'Applications' on the menu bar then click 'All Applications' from the list.
- Click 'Open Module' on the 'Comodo Dome Firewall Central Manager' tile
The Dome Firewall Central Manager interface will open. If you have not configured the URL in the Settings tab under 'Management' > 'Applications' then the 'Application Settings' dialog will be displayed.
For more details about how to use Dome Firewall Central Manager, see the online admin guide at https://help.comodo.com/topic-436-1-920-12359-Introduction-to-Comodo-Dome-Firewall-Central-Manager.html.


