Manage Roles
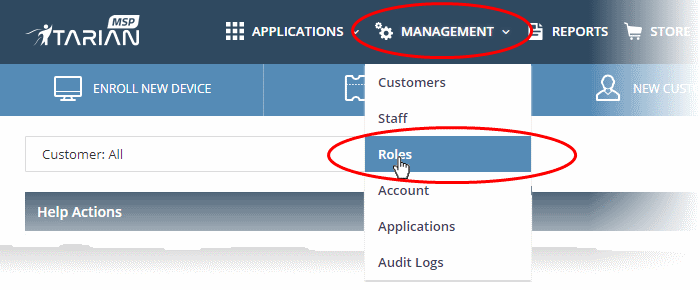
- Click 'Management' > 'Roles'.
- ITarian ships with three built-in roles that cannot be edited or deleted - 'Account Admin', 'Admin' and 'Technician'.
- You can create custom roles by cloning the 'Admin' or 'Technician' roles then modifying their privileges. You cannot clone the account admin role.
- All
built-in and custom roles are available for selection when creating
or editing staff (see the previous section, Manage
Admins and Staff).
- See Manage Admins and Staff for help to create staff.
- See Admin Privilege Levels for info about the permissions that come with each role.
Manage roles in ITarian
- Click
'Management' > 'Roles'
The management interface lists all roles that have been created, and the number of users under each role:
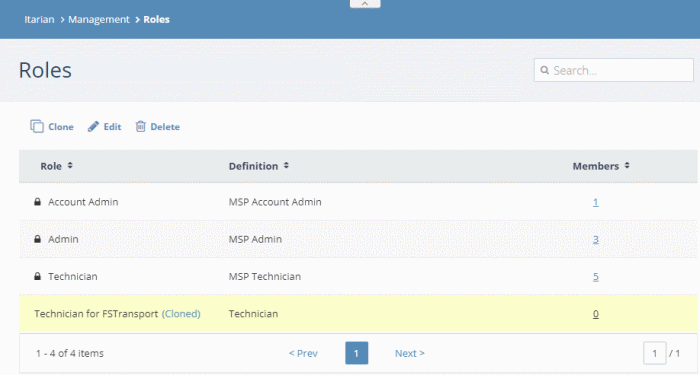
Role - Label of the role. A role is a set of permissions and privileges within ITarian.
Definition - A short description of the role. Built-in roles are prefixed with 'MSP' or 'Enterprise' depending on your account type.
Members - The number of staff assigned to the role. Click the number to view all staff with the role.
See the following for more help:
Create a
custom role
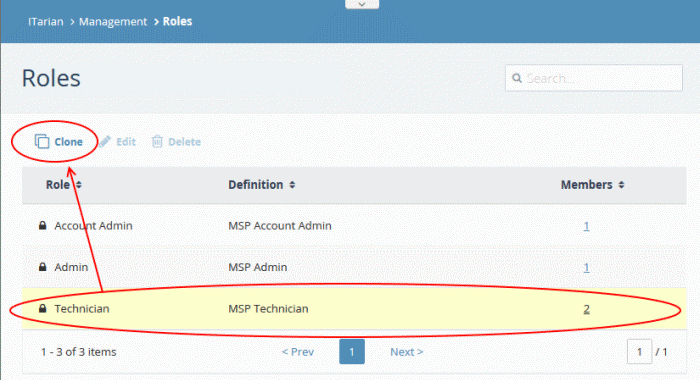
You can add a custom role by cloning an existing role then modifying the privileges as required. You cannot clone the 'Account Admin' role.
- Click 'Management' > 'Roles'
- Select the role that you want to use as template then click 'Clone':
Create a new name/description for the role, and choose its permissions as required:
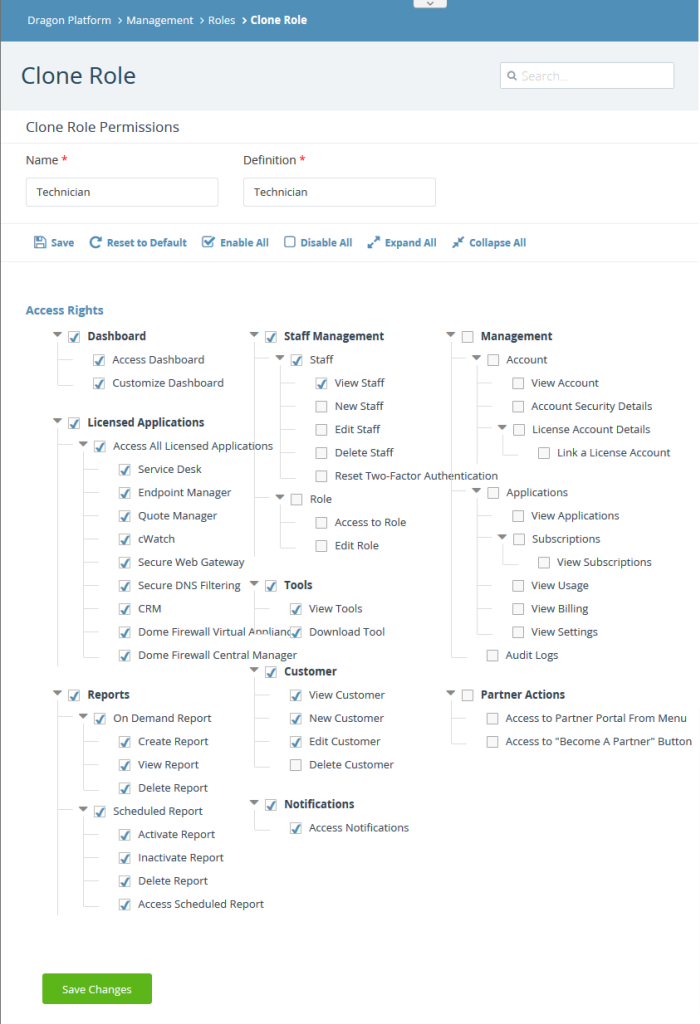
The following list briefly explains the permissions:
- Dashboard - View the ITarian dashboard and customize dashboard panes.
- Licensed Applications - Specify which ITarian modules the role can access. These are the applications you see when you click the ‘Applications’ menu item in ITarian. Example apps include Service Desk and Endpoint Manager.
- Reports - Controls access and permissions for the 'Reports' menu (‘Dashboard’ > ‘Reports’).
- Staff Management – Ability to manage staff and roles.
- Staff - ‘Management’ > ‘Staff’. Staff you create here will become available in ITarian modules such as Service Desk and CRM. For example, a staff member in Service Desk is usually a member of your support team, working on customer tickets. In CRM, a staff member is usually a sales operative to whom you assign leads and opportunities.
- Role - ‘Management’ > ‘Roles’. Roles determine the permissions granted to a staff member.
- Tools - Whether users can access the ‘Tools’ menu in the ITarian console. Tools’ are software utilities such as ‘Unknown File Hunter’ and ‘Comodo Cleaning Essentials’.
- Customer - View and manage existing customers, add new customers. You can view this interface at 'Management' > 'Customers'. This setting applies to MSP accounts only.
- Notifications - Specify whether role members receive in-app messages/alerts in the ITarian console.
- Management - Governs access to the following areas:
- ‘Management’ > ‘Account’
- ‘Management’ > ‘Applications’
- ‘Management’ > ‘Audit Logs’
- Partner Actions - Control whether the user can view and click the ‘Partners’ button in the ITarian console. This allows role members to access the Comodo partner portal, and become a ITarian reseller. Resellers get ITarian products at discounted prices.
- Click 'Save' at the top, or 'Save Changes' at the bottom to create your role.
Edit a custom role
You cannot edit the built-in roles ('Admin', 'Technician', 'Account Admin'). You can only edit custom roles, or cloned roles, that you have created.
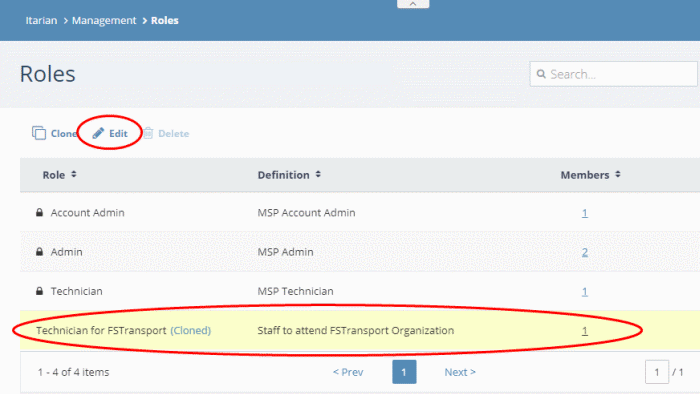
- Click 'Management' > 'Roles'
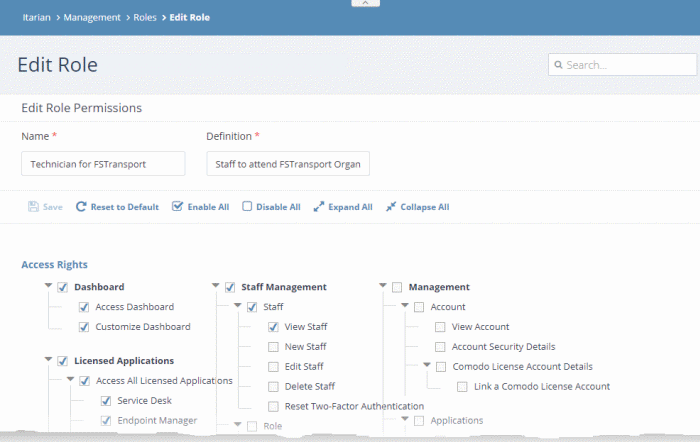
- Select the role that you want to update and click 'Edit':
- Modify the name, description and access rights for the role as required. See the previous section if you need more help with the permissions themselves
- Click 'Save' or 'Save Changes' when done
- The changes will take effect on users from their next login
|
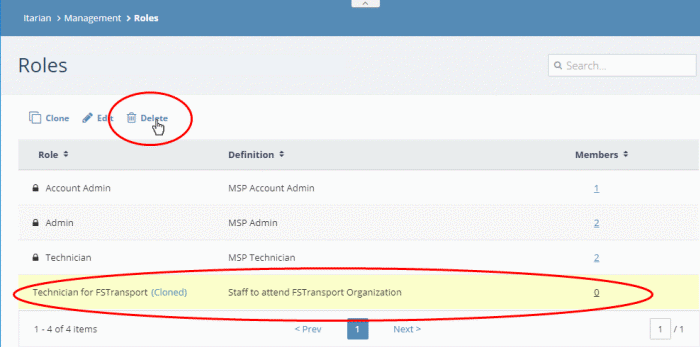
Note: You cannot delete built-in roles, or custom roles that are currently assigned to staff members. Make sure no staff members are assigned to a custom role before attempting to delete. |
- Click Management' > 'Roles'
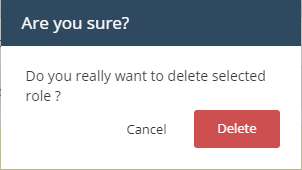
- Select the role that you want to remove and click 'Delete':
- Click 'Delete' in the confirmation dialog