

Ticket Priority Settings
Priority indicates the level of importance. Agents understand the urgency of a ticket with ticket priorities and decide which tickets should be dealt with first. The priority module allows agents to define different ticket priority levels.
- Priority of a ticket is necessary when a client raises a ticket and wants to know which ticket has Low Priority, High Priority, or Emergency Priority to resolve it within the given period. So this will help you to assigning a ticket based upon the priority.
- Click 'Admin Panel' > 'Manage' > 'Priority'

- Here you can view the added priority levels you can edit them or create a new according to your preferences.
- Click 'Create ticket priority'
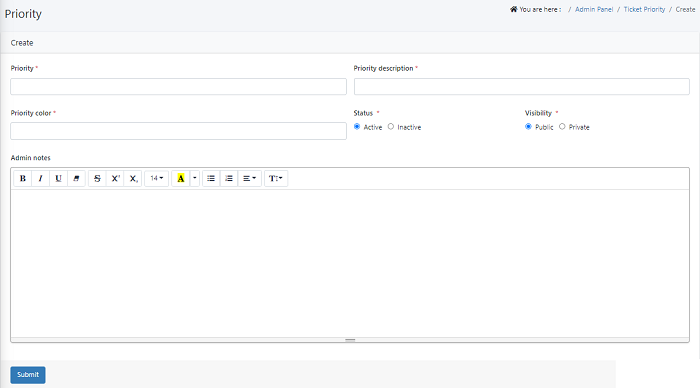
- Priority - Add a name of the priority in the given box. For example - “Critical, High, Low”
- Priority Description - Add a short description of the newly created priority.For ex: emergency priority
- Priority Color - Click and choose a color for this priority from the color palette.
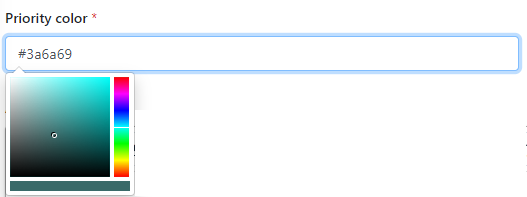
- For example - The color green for "low"
- Status - Select active so that all the features are accessible in the agent and the user panel.If we select inactive users cannot view the ticket priority.
- Visibility - You can set the visibility to whom you want a priority to be visible.
- Public - If the visibility is set to Public, it will appear on the client panel, allowing the user to choose the ticket's priority.
- Private - If the visibility is set to Private, it will display to the agents and admin.
- Admin Notes - Here you can enter the notes that you would like to share with Admin/Agent.
Edit a Priority
- Navigate to Admin Panel > Manage > Priority
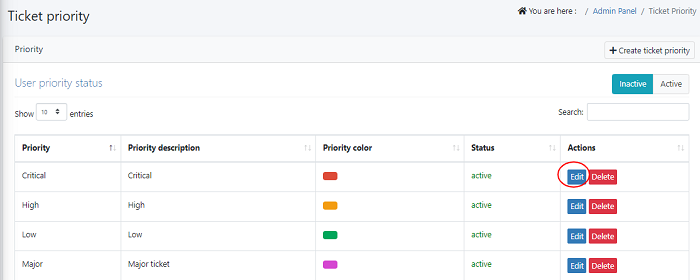
- Click on the Edit button to edit the details.
Delete a Priority
- Navigate to Admin Panel > Manage > Priority >Click 'Delete' which you need to remove
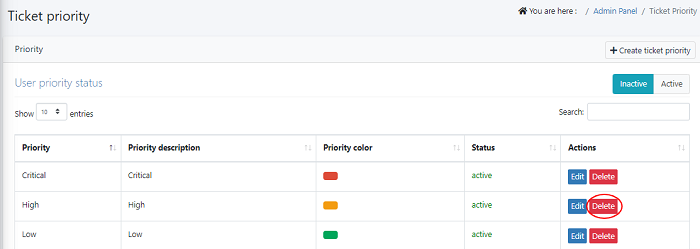
- A Delete pop-up confirmation will be displayed. Click on the delete button to delete details.