


Registry Groups
- Click 'Settings' > 'HIPS' > 'HIPS Groups' > 'Registry Groups'
- Registry groups are predefined batches of one or more registry keys.
- Comodo Client Security ships with a set of important registry groups: 'Automatic Startup' (keys), 'Comodo Keys', 'Internet Explorer Keys', 'Important Keys' and 'Temporary Keys'.
- Creating a registry group allows you to quickly add it to the list of protected keys. See 'Protected
Registry Keys' for help with this.
Open the 'Registry Groups' section
- Click 'Settings' on the CCS home screen to open the 'Advanced Settings' interface.
- Click 'HIPS' > 'HIPS Groups' on the left.
- Click the 'Registry Groups' tab:
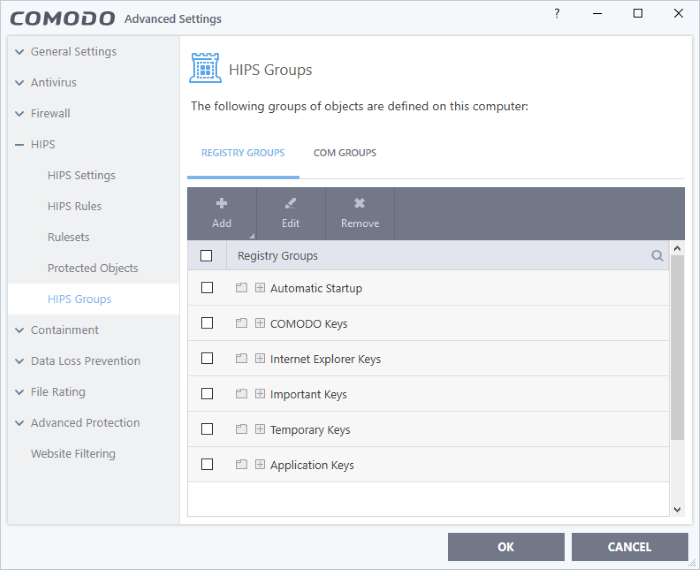
- Click the search icon on the right to find a specific item. You can enter a full or partial name.
This interface allows you to:
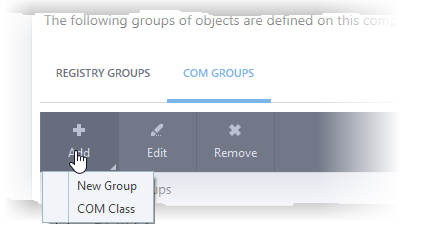
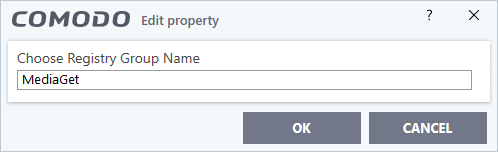
- Add a new group - Select 'New Group' from the 'Add' drop-down, enter a name for the group in the 'Edit property' dialog and click 'OK'.
The group will be added to the list.
- Add keys to a group - Select the group from the list, click 'the Add' button and choose 'Registry Keys'. The 'Select Registry Keys' dialog will be opened.
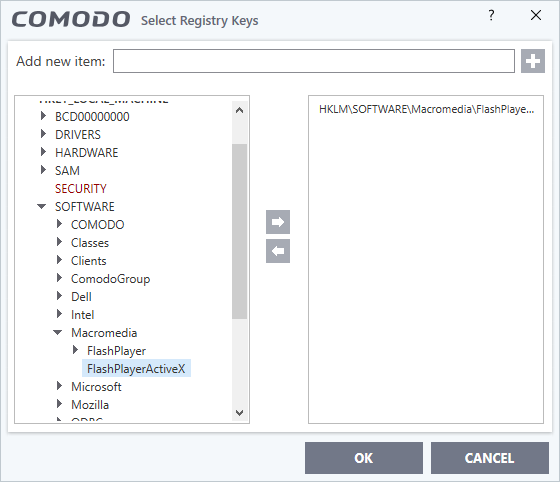
- Select a key on the left then click the right arrow to add a new key to the group. You can add a key manually by typing its name in the 'Add new item' field then clicking the '+' button.
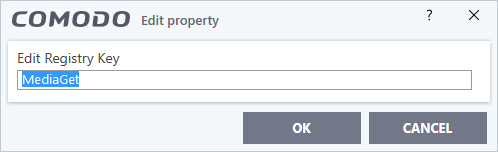
- Modify the name of the group as required and click 'OK'.
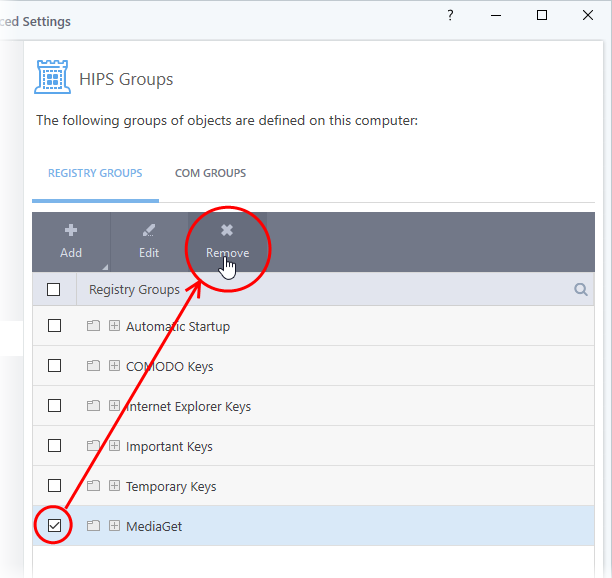
- To remove a key from a group, first expand the group by clicking its '+' symbol, select the key to be removed and click the 'Remove' button.