Manage Profiles for Network SNMP Devices
- Network profiles are used on SNMP compliant devices that don't run a supported operating system (Windows, Linux, iOS etc). Example devices include routers, switches and printers.
- The profiles let you track events on SNMP devices and receive alerts if certain conditions are met.
- You first create a monitor to track events, then you add the monitor to a network profile. You then deploy the profile to your SNMP devices.
- You must have run at least one discovery scan to find your SNMP devices
- You should also have created at least one network monitor. See 'Manage Network Monitors'
Open the Network Profiles interface
- Click 'Network Management' > 'Profiles'
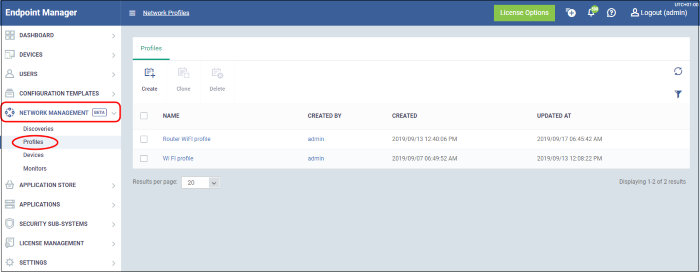
Click the following links to learn more about each task:
- Click 'Network Management' > 'Profiles'
- Click 'Create' at top-left
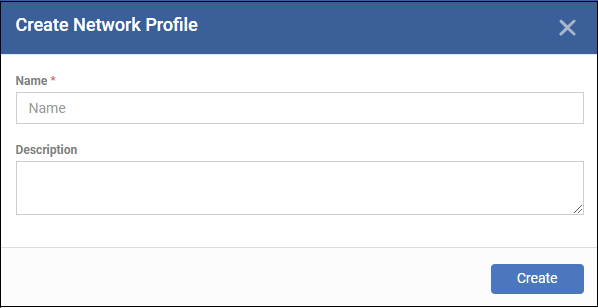
- Name – Create a label for the profile. For example, ‘Profile for routers’.
- Description – Add any short notes you think are required.
- Click 'Create'. This opens the profile, ready for you to configure.
- Click 'Edit' on the right:

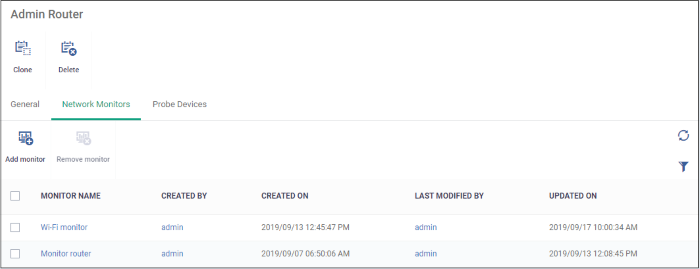
- Click the 'Network Monitors' tab:
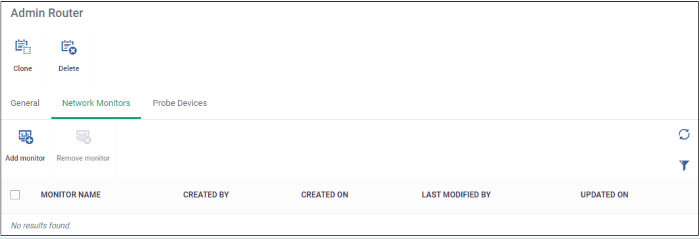
- Click 'Add monitor'
- A network monitor tracks activity on your devices and generate an alert if certain conditions are met.
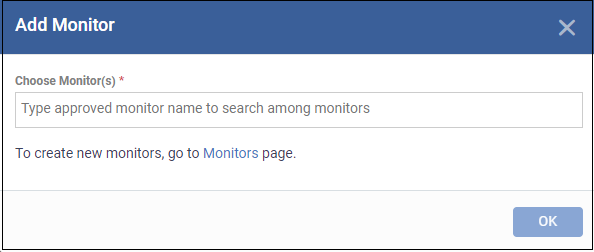
- Choose Monitors – Start typing the monitor name and select from the suggestions. You can add multiple monitors.
- See 'Manager Network Monitors' if you have not yet saved a monitor.
- Click
'OK'.
The page shows all monitors on the profile:
- Click 'Probe Devices'
- Choose the device you want to use to keep track of SNMP devices.
A probe device is a managed Windows endpoint inside your target network. The device must already be enrolled to Endpoint Manager and have the communication client installed. This device will run the monitors on your target SNMP devices.

- Click 'Add'
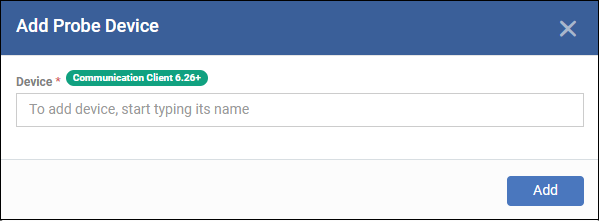
- Device - Start typing the managed Windows device name and select from the suggestions.
- Click 'Add'

- Repeat the process to add more probe devices. More devices act as fail-overs for each other.
- Note – The first device that you add will be default probe device. If you want to change, select the probe device and click 'Set as default'.
The profile is now configured. You can deploy the profile to discovered SNMP devices as follows:
- Click 'Network Management' > 'Devices'
- Click the 'Managed Devices' tab
- Select your target SNMP devices
- Click 'Add Profile'
- Type the name of the profile you just created
- Click 'Add'
You can add a new profile by using the settings of an existing network profile.
- Click 'Network Management' > 'Profiles'
- Click 'Clone' at top-left
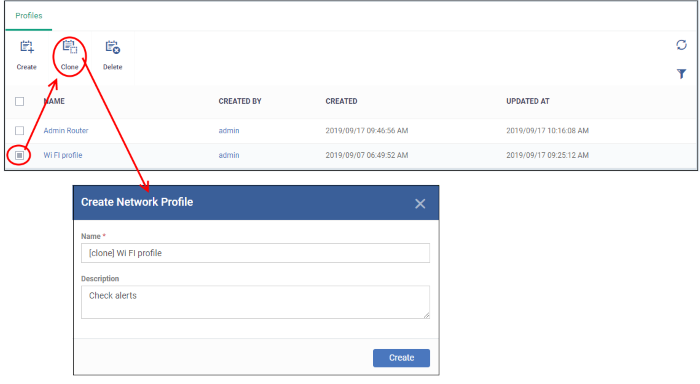
The cloning process is similar to creating a new profile explained above. Edit the settings as required.
Click here for an illustrated walk-through of the profile deployment process.
You will no longer get alerts if a network profile is deleted.
- Click 'Network Management' > 'Profiles'
- Click 'Delete' at top-left
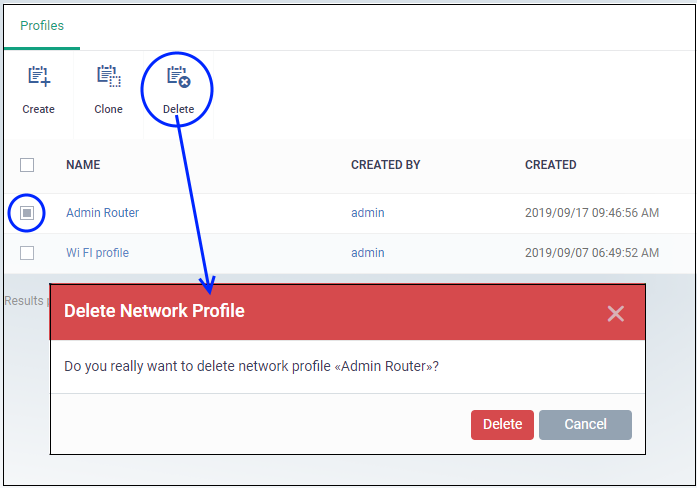
- Click 'Delete' to confirm.


